Project Description
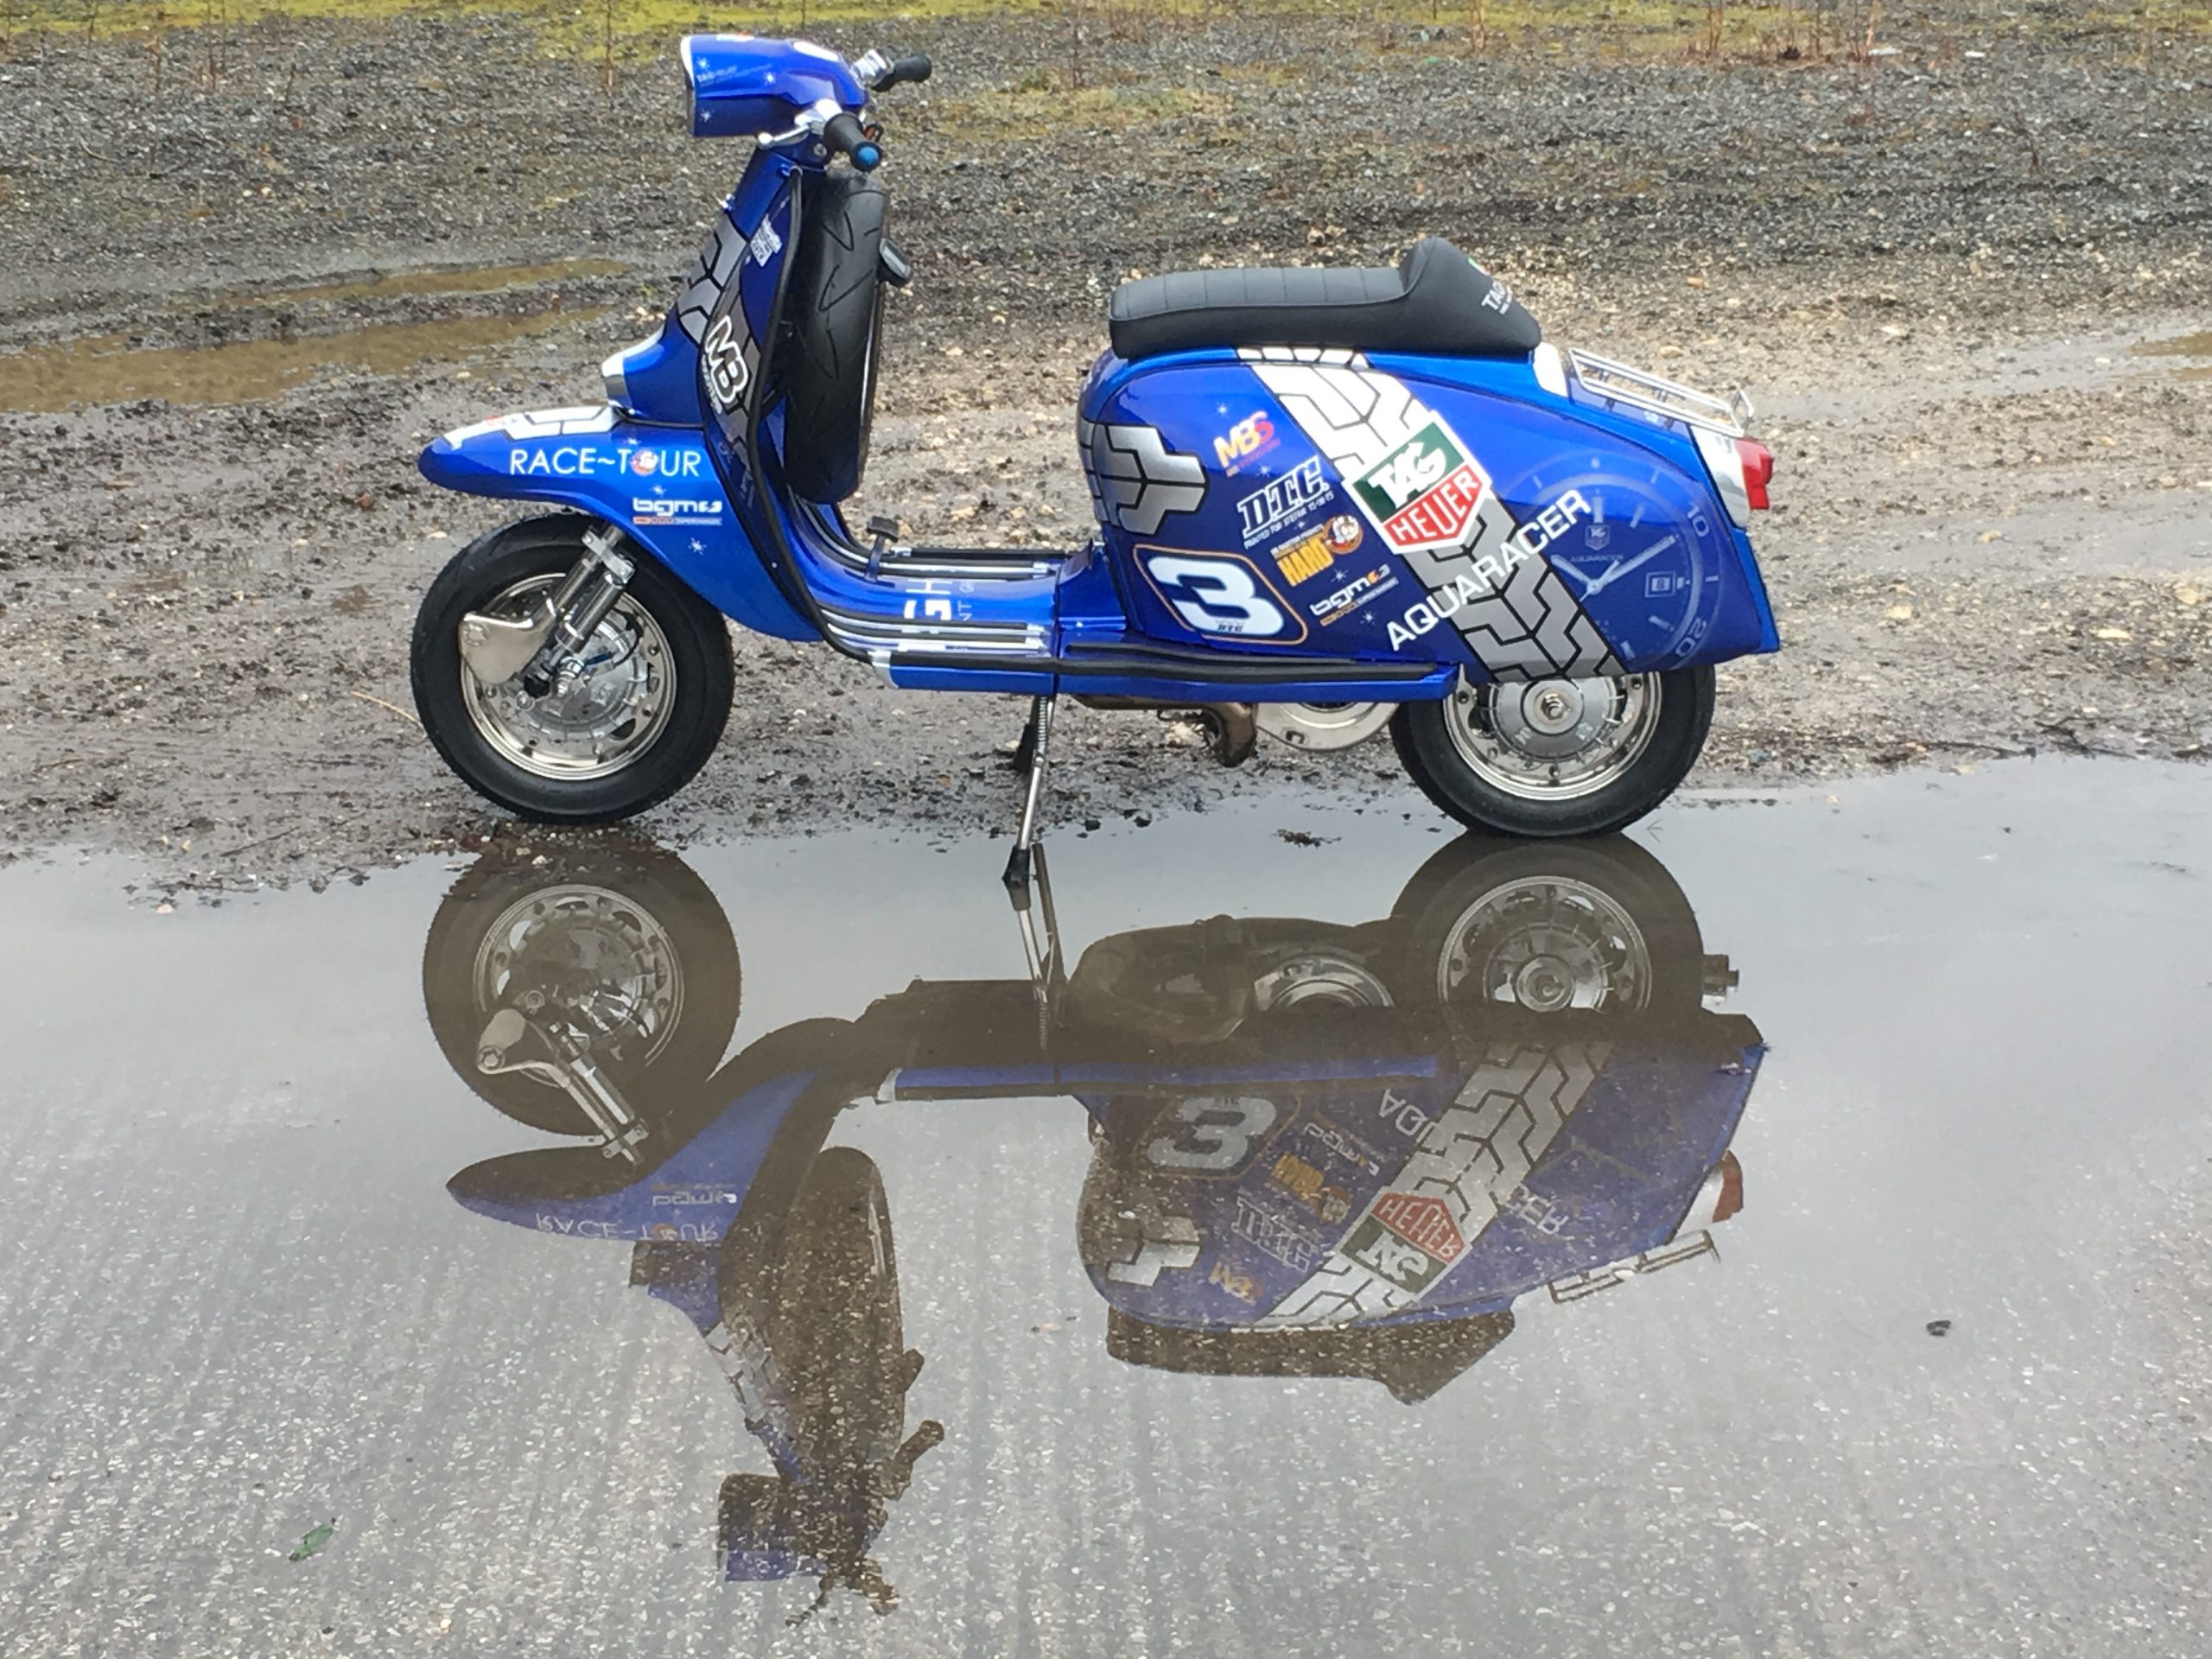
Lambretta Gp245 Tag Heuer

Markie Says: “I could say this was a pig from start to finish – but it was worth it”
Lambretta Gp245 Tag Heuer
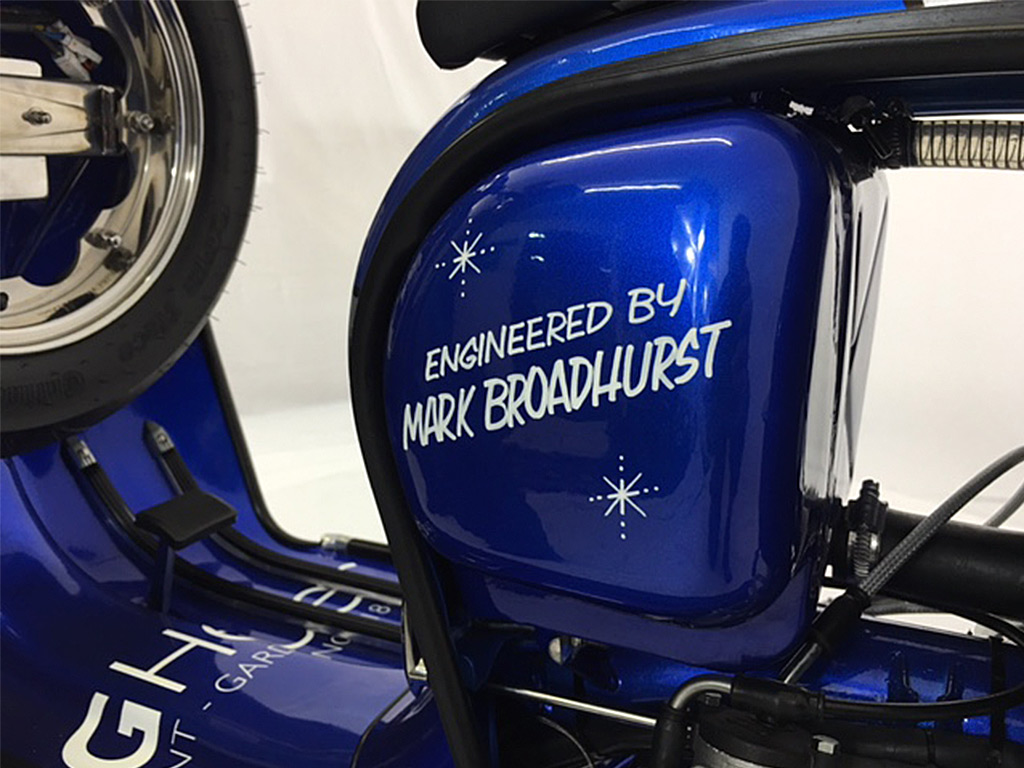
I can’t take all the credit for this TAG bike, there are others who’s done a fantastic job and then without Stefans vision it wouldn’t have been done. On one of the final dyno runs I looked up at the headset and saw – TAG Heuer ‘Don’t crack under pressure’………… That brought a smile to my face I hadn’t noticed that – such is the detail on this bike.
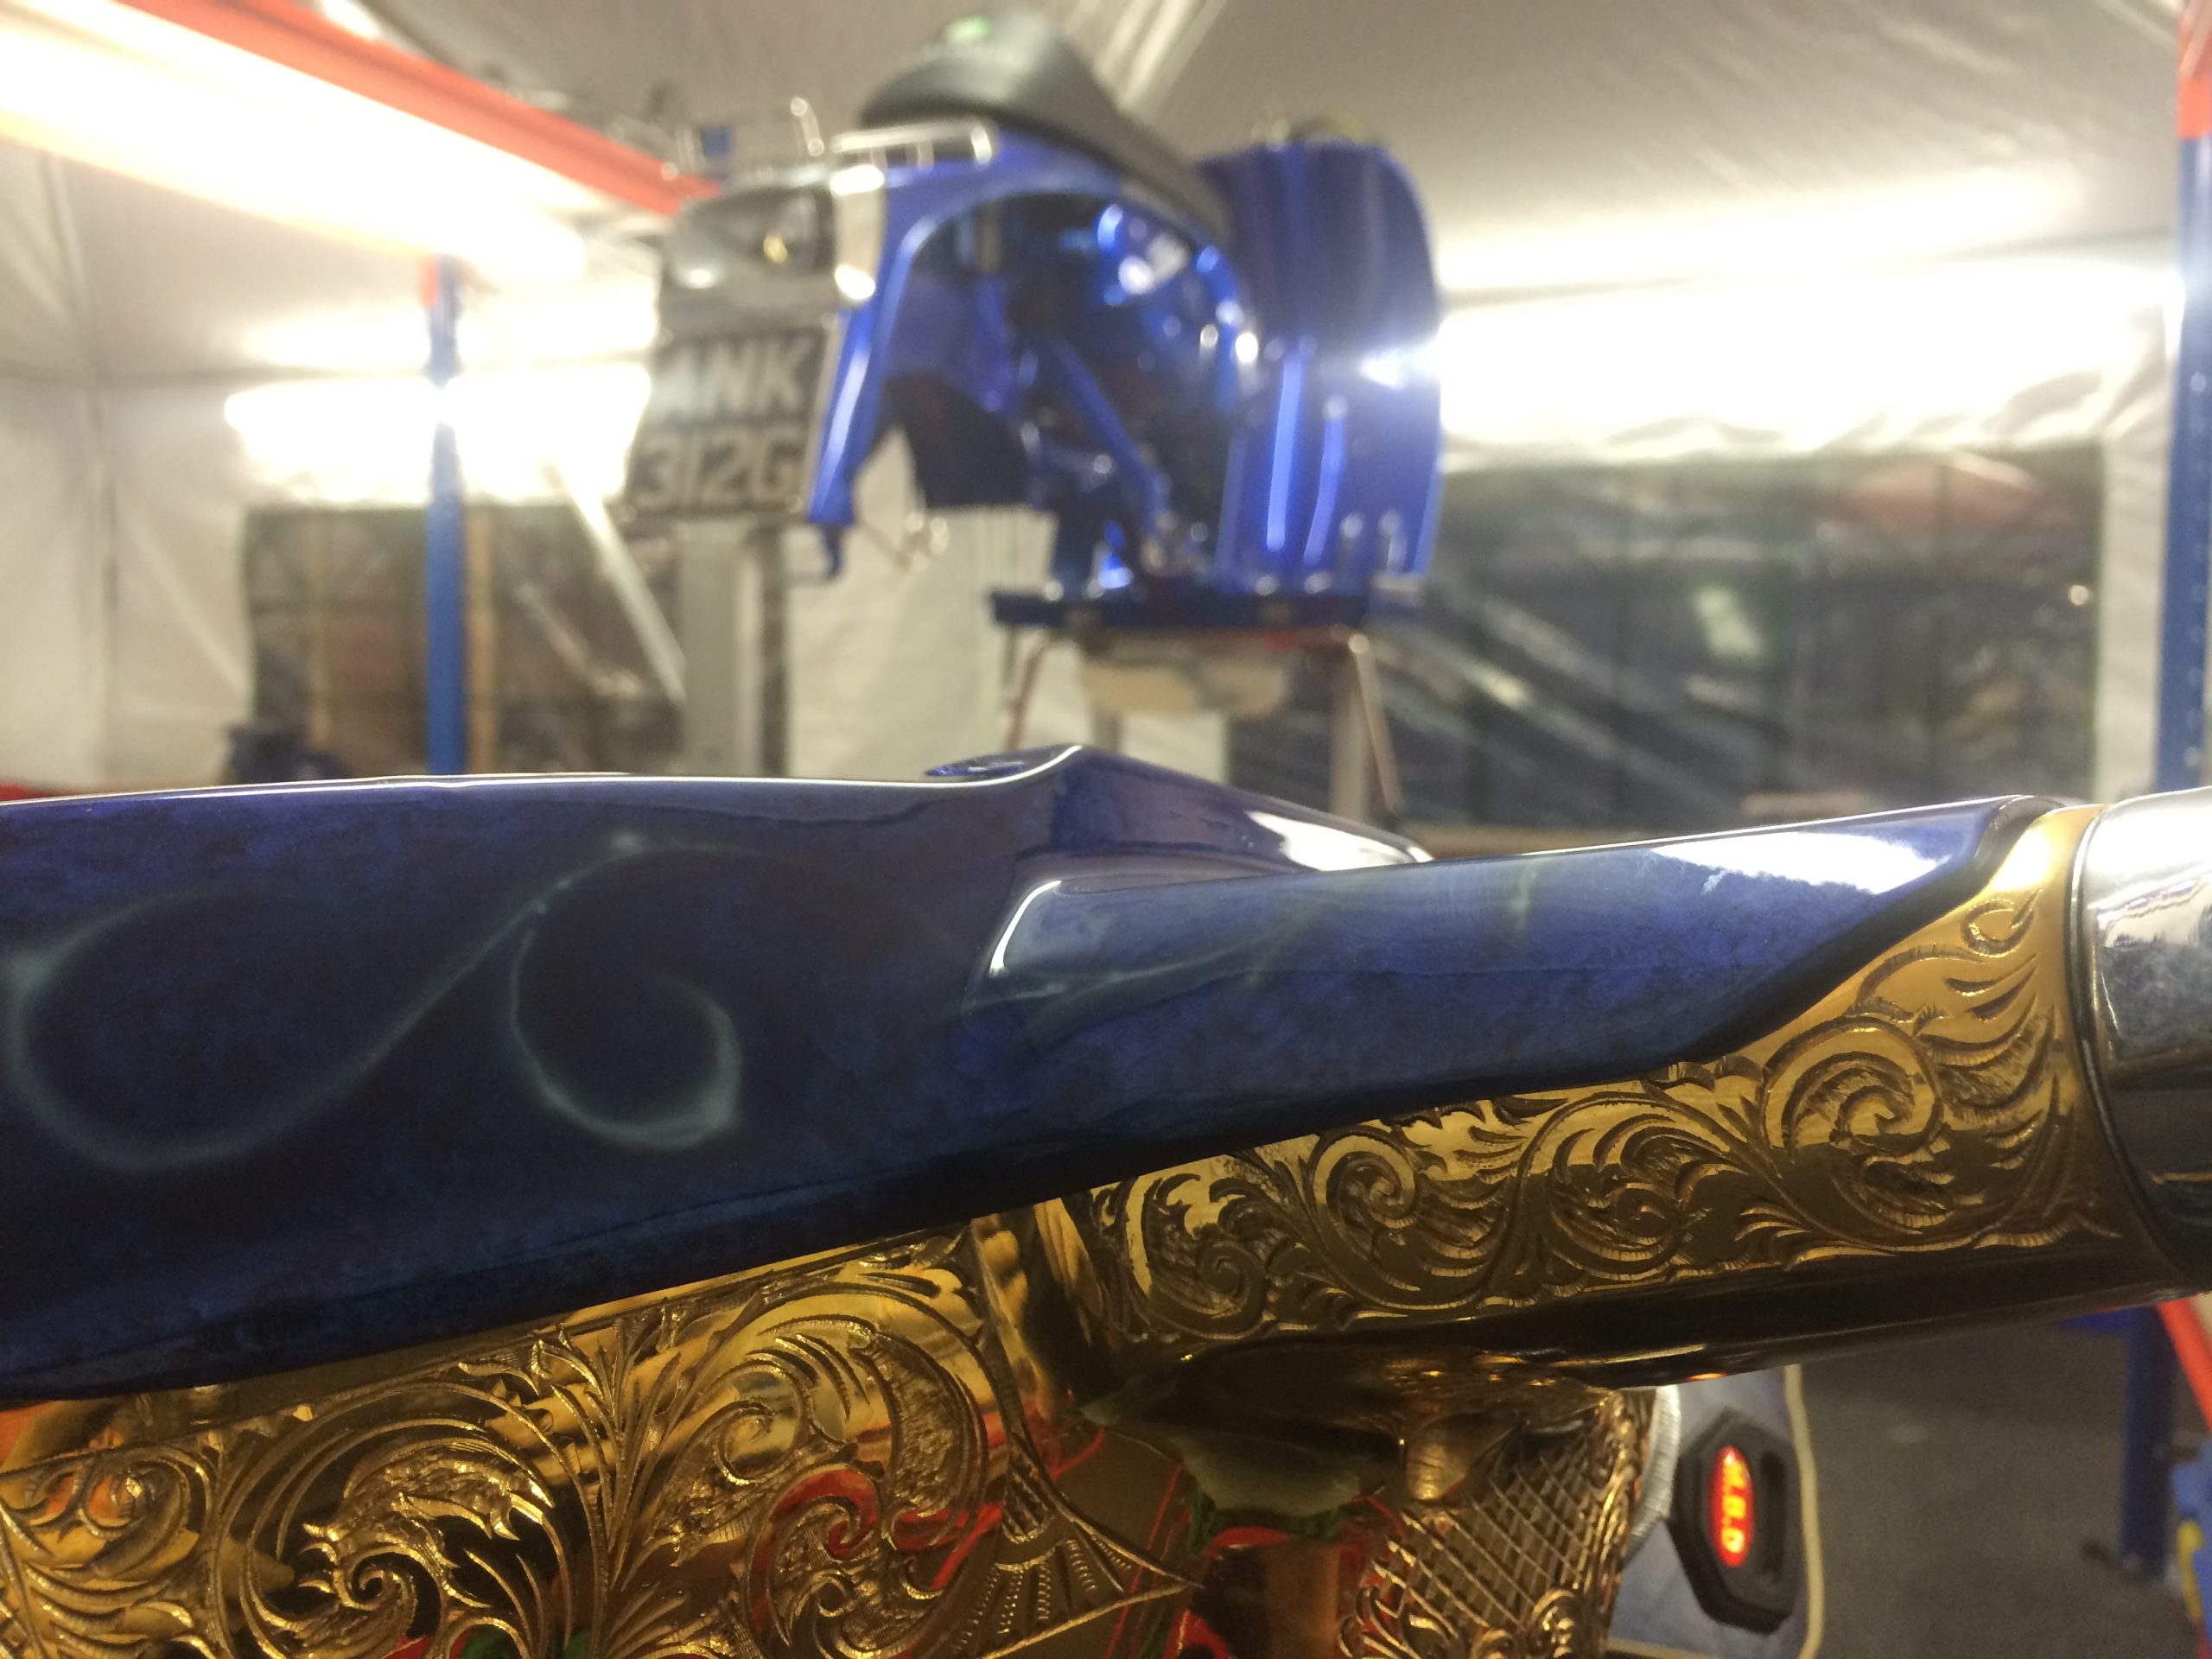
I had set a deadline for the Friday as I was away the week after and Stef wanted it for Whitby. I couldn’t have got it MOTed in time. Stef was coming up on the last day – the Friday to inspect it and arrange collection. I had been working non stop to finish it for two weeks and actually finished it at 10pm on the Thursday. When I got home I had a text from Sticky asking if he could come up the next day and take some photos to help kickstart the new SLUK web site? We still had to build the photo room for him to do it on the Friday, but that went easy.
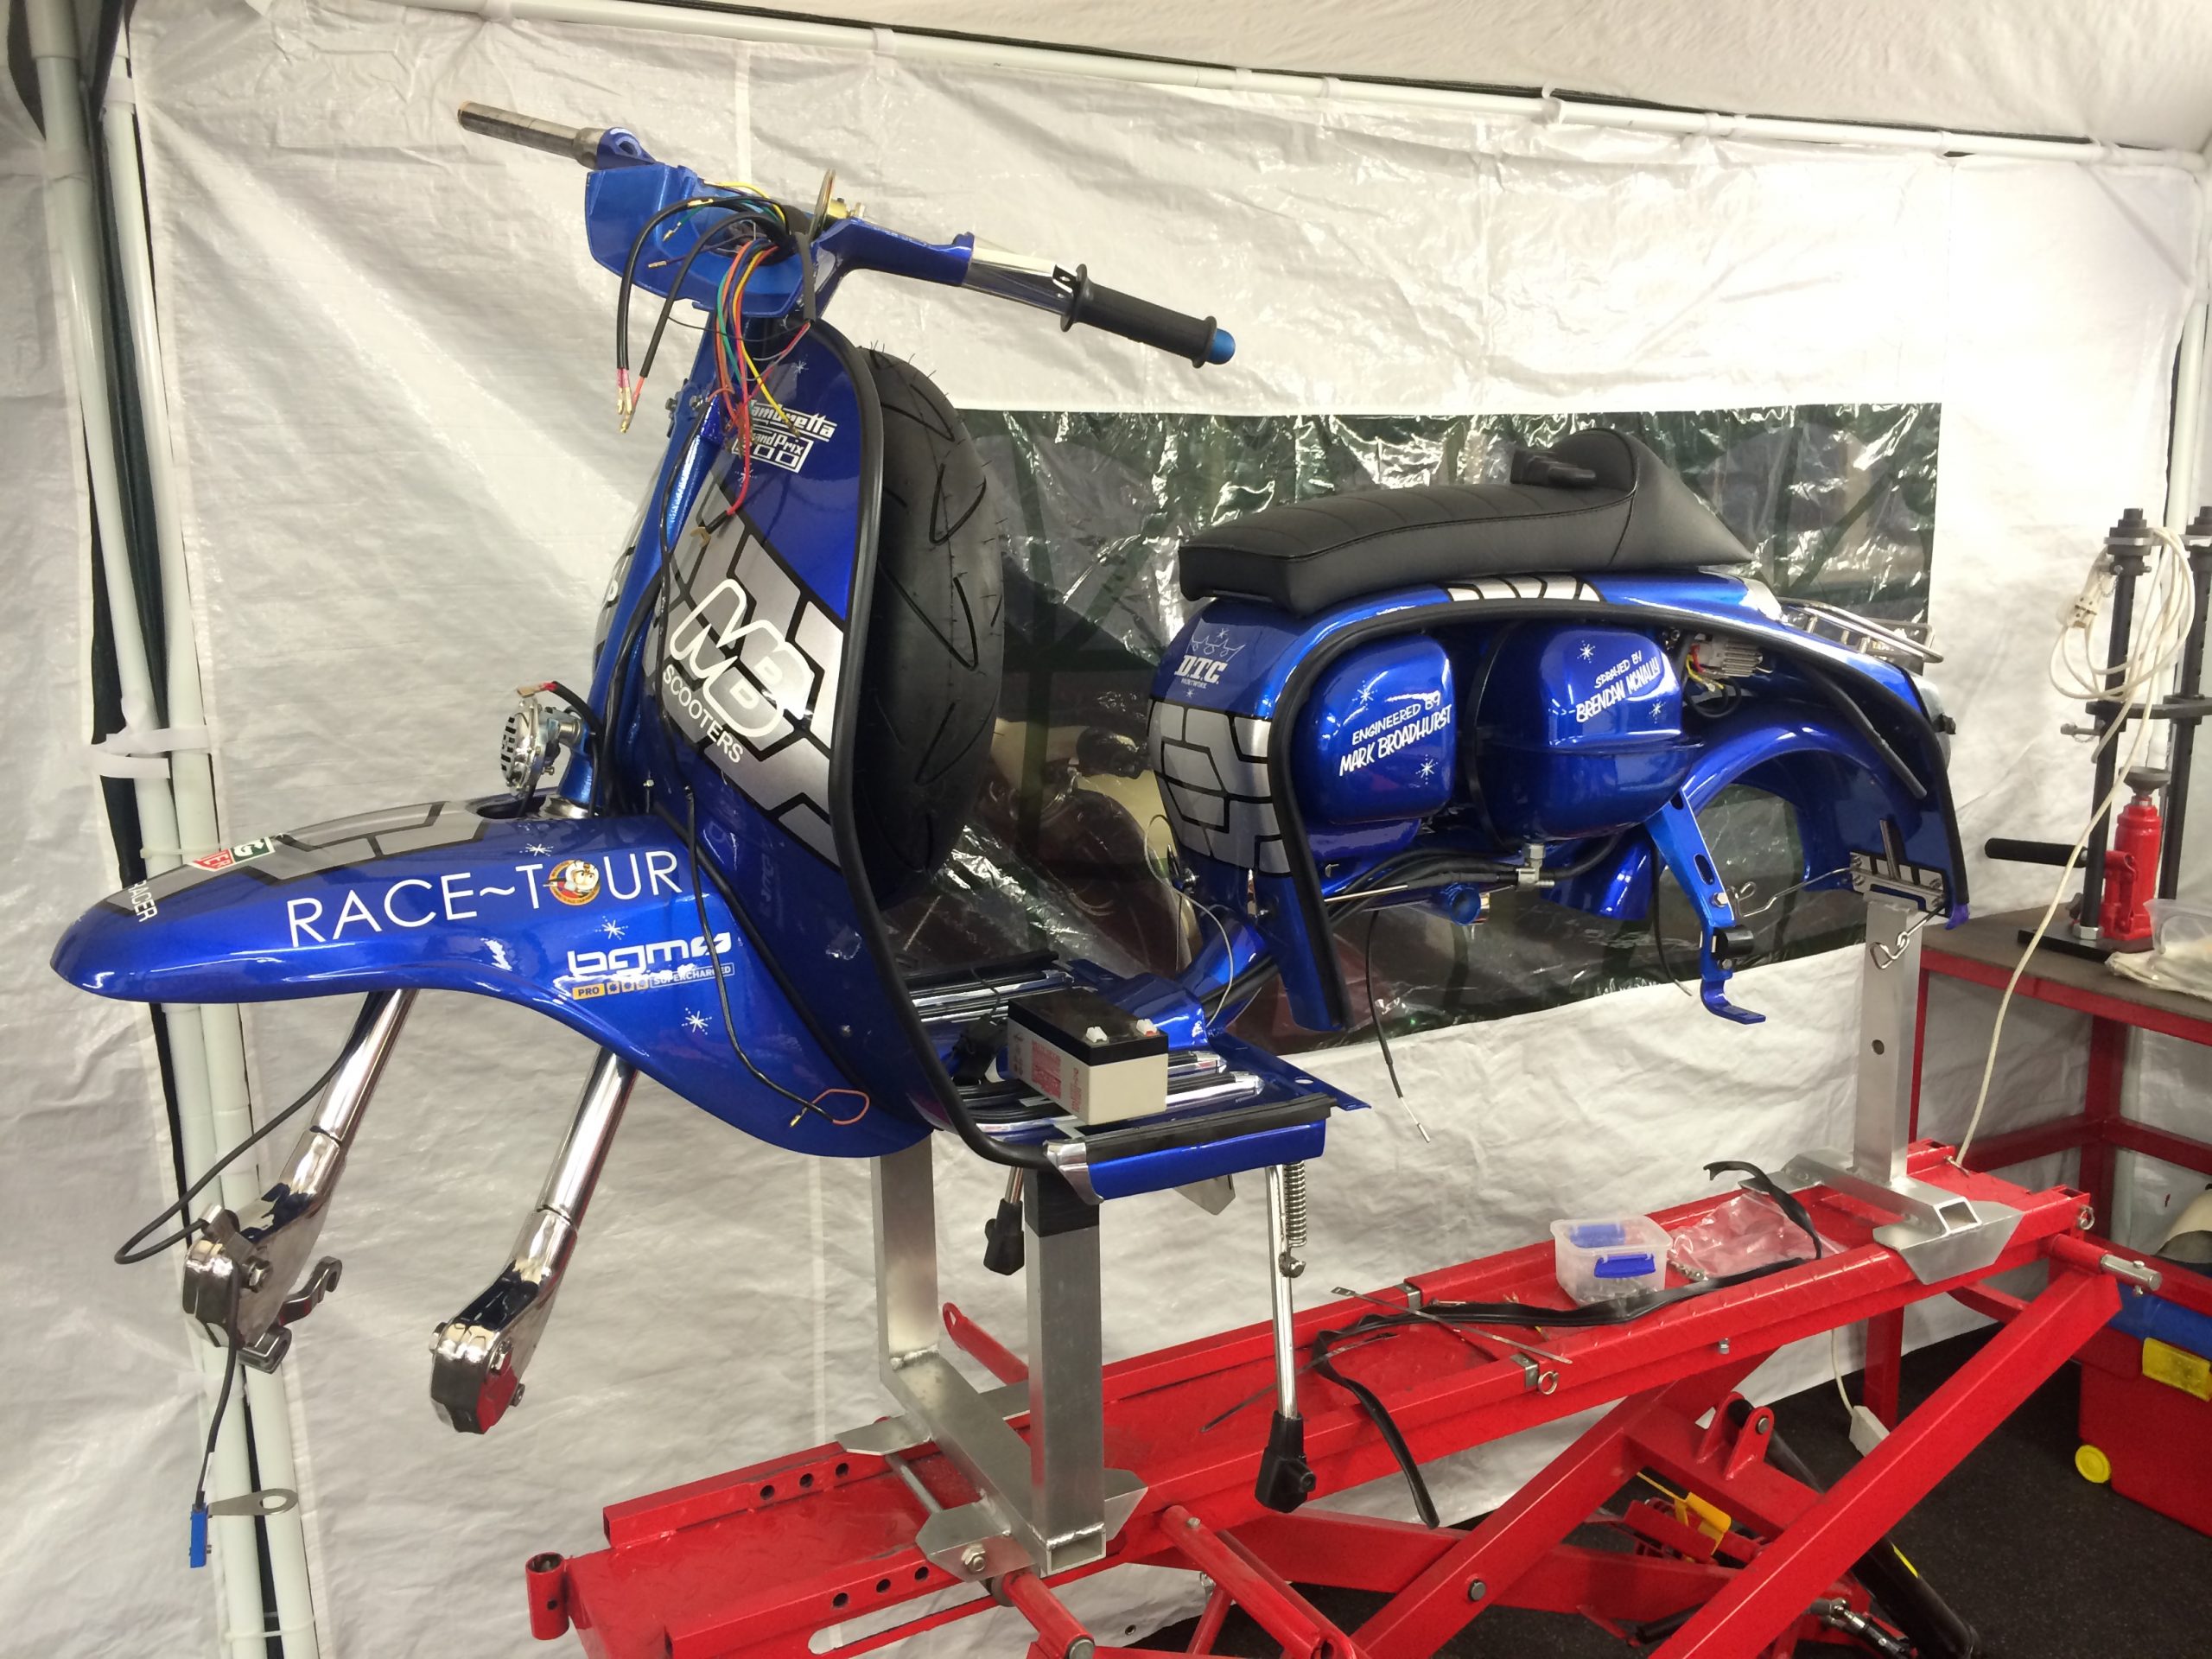
On about under pressure!
Nothing goes easy on a rebuild, especially if it’s a bitza this – bitza that. Sometimes it goes well, sometimes it doesn’t. Some of this did go well, the leg shields fitted perfect as did the new runner strips, the holes were perfect. But the other custom bike I was doing at the time also a genuine Italian GP and using the same parts didn’t fit showing why some parts fit and some don’t even when bikes are genuine original GP bikes, there must have been different pressings for the same model types.
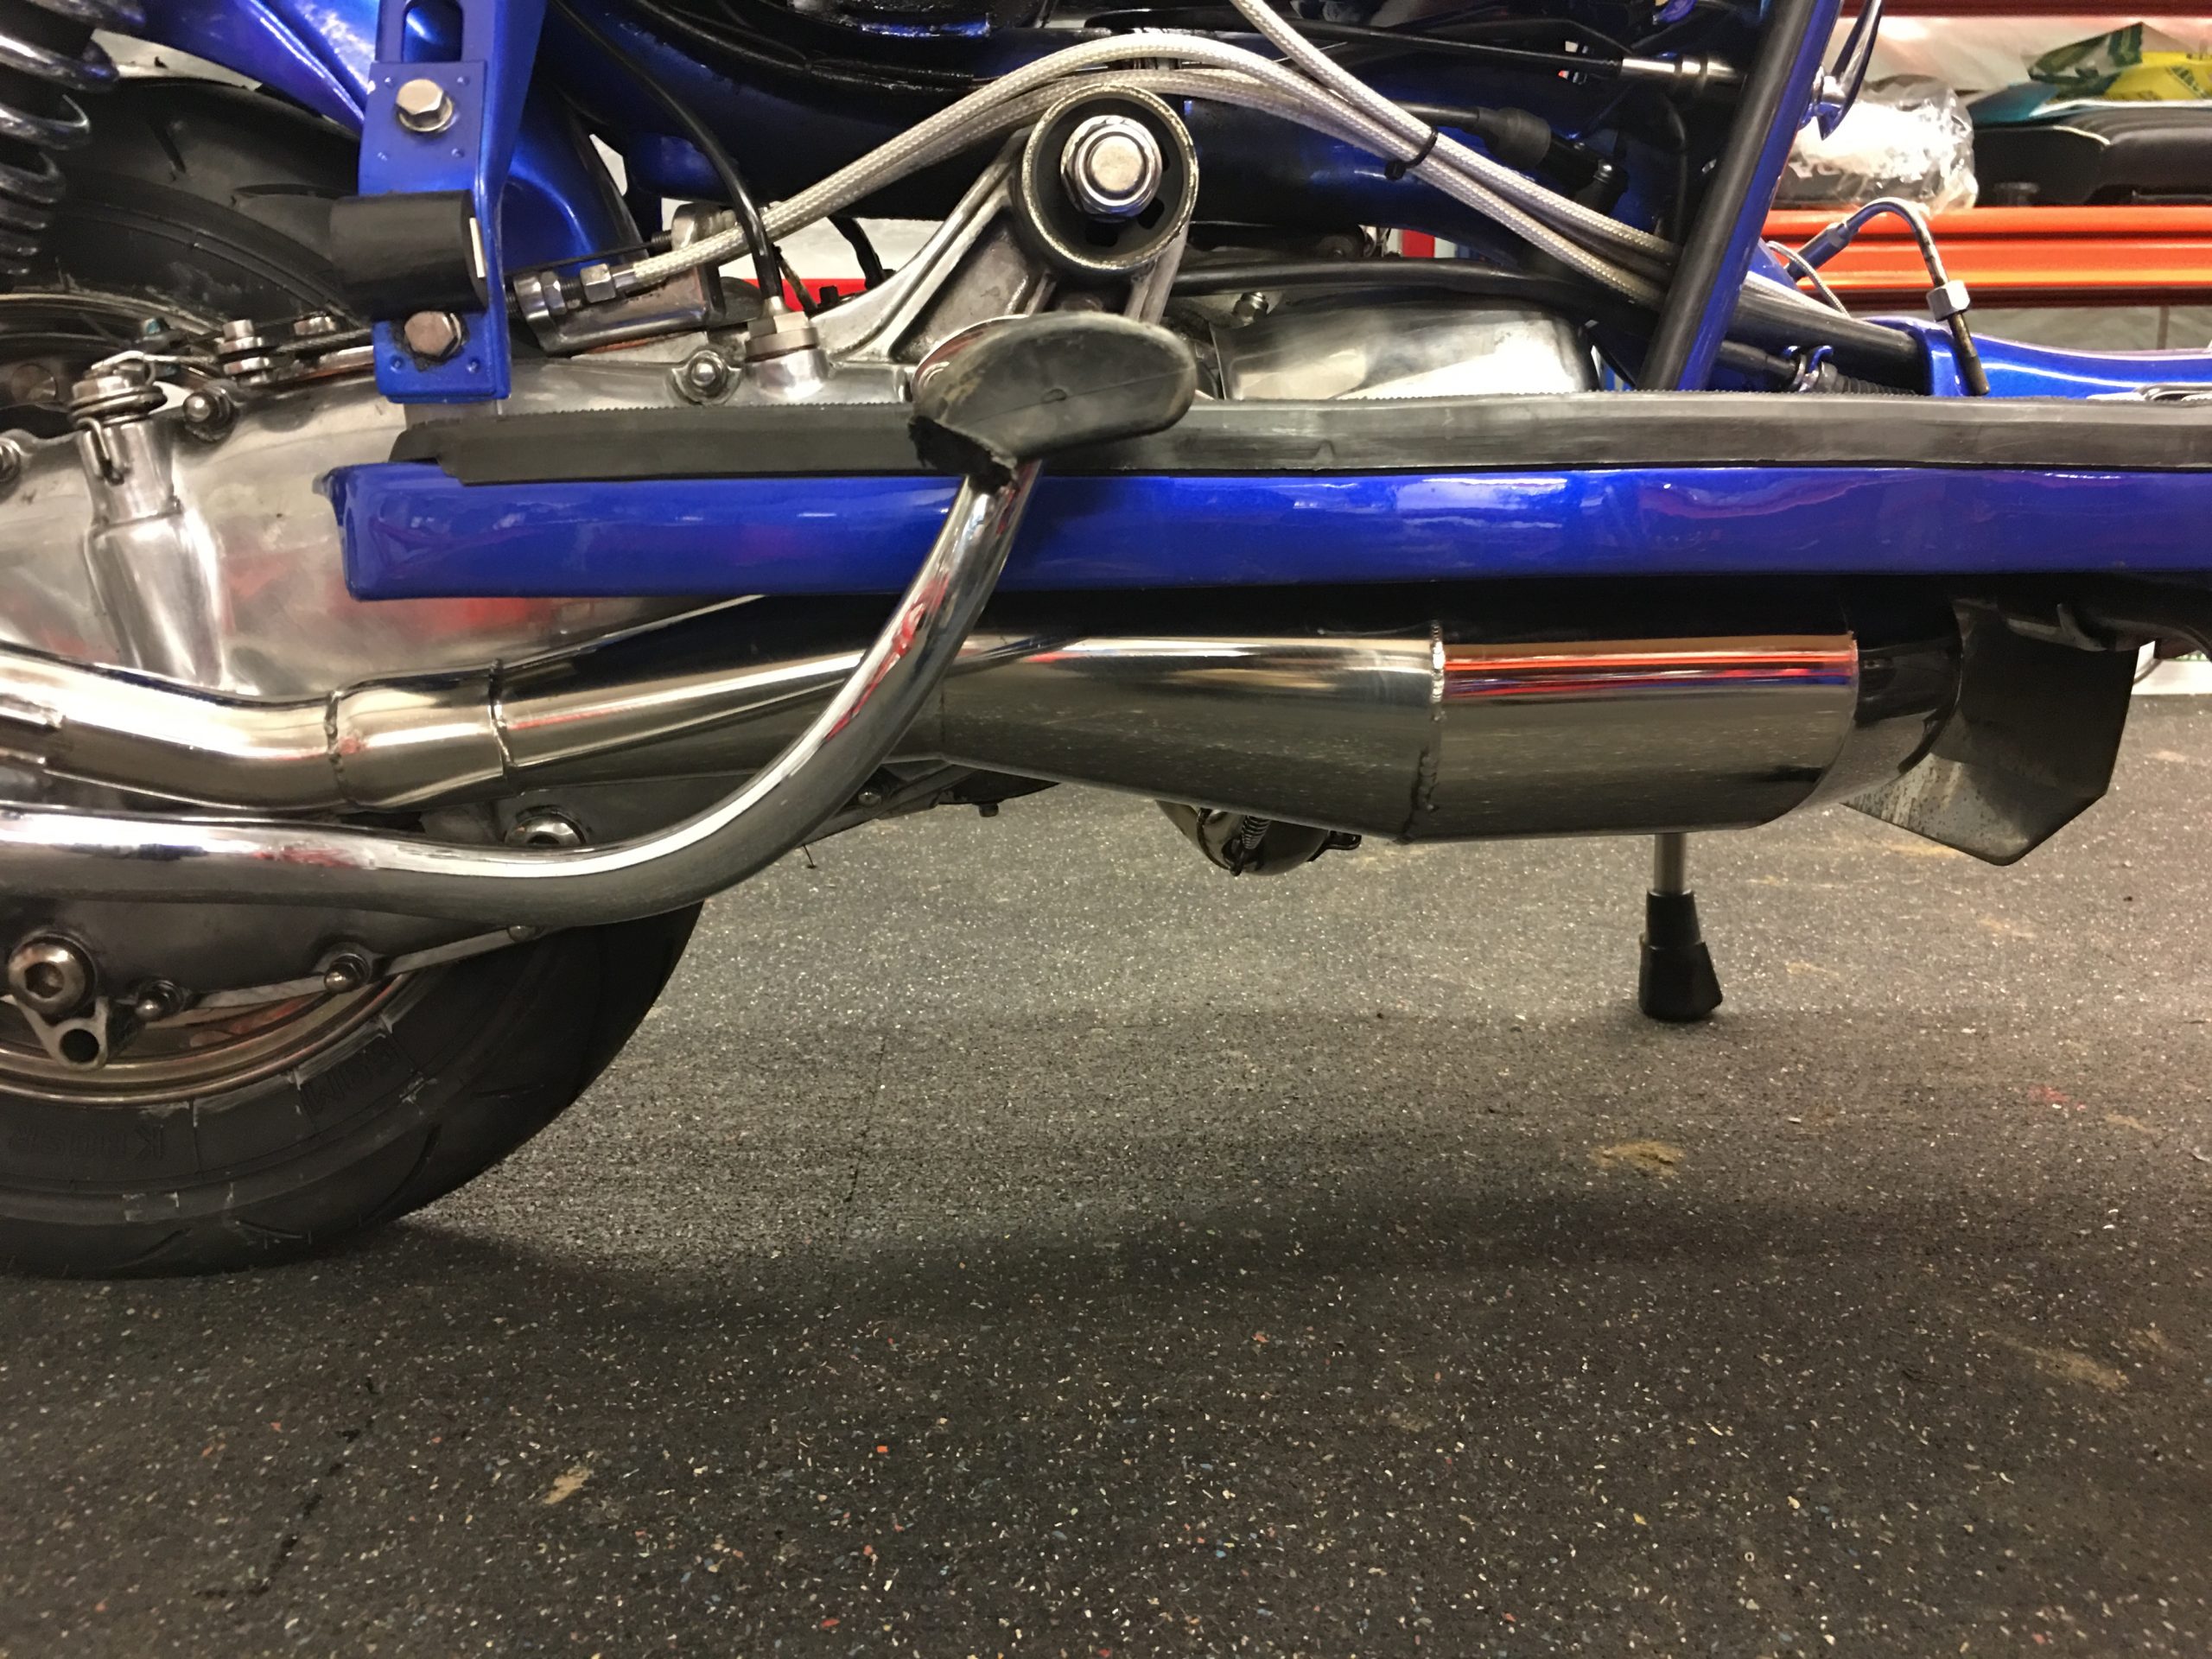
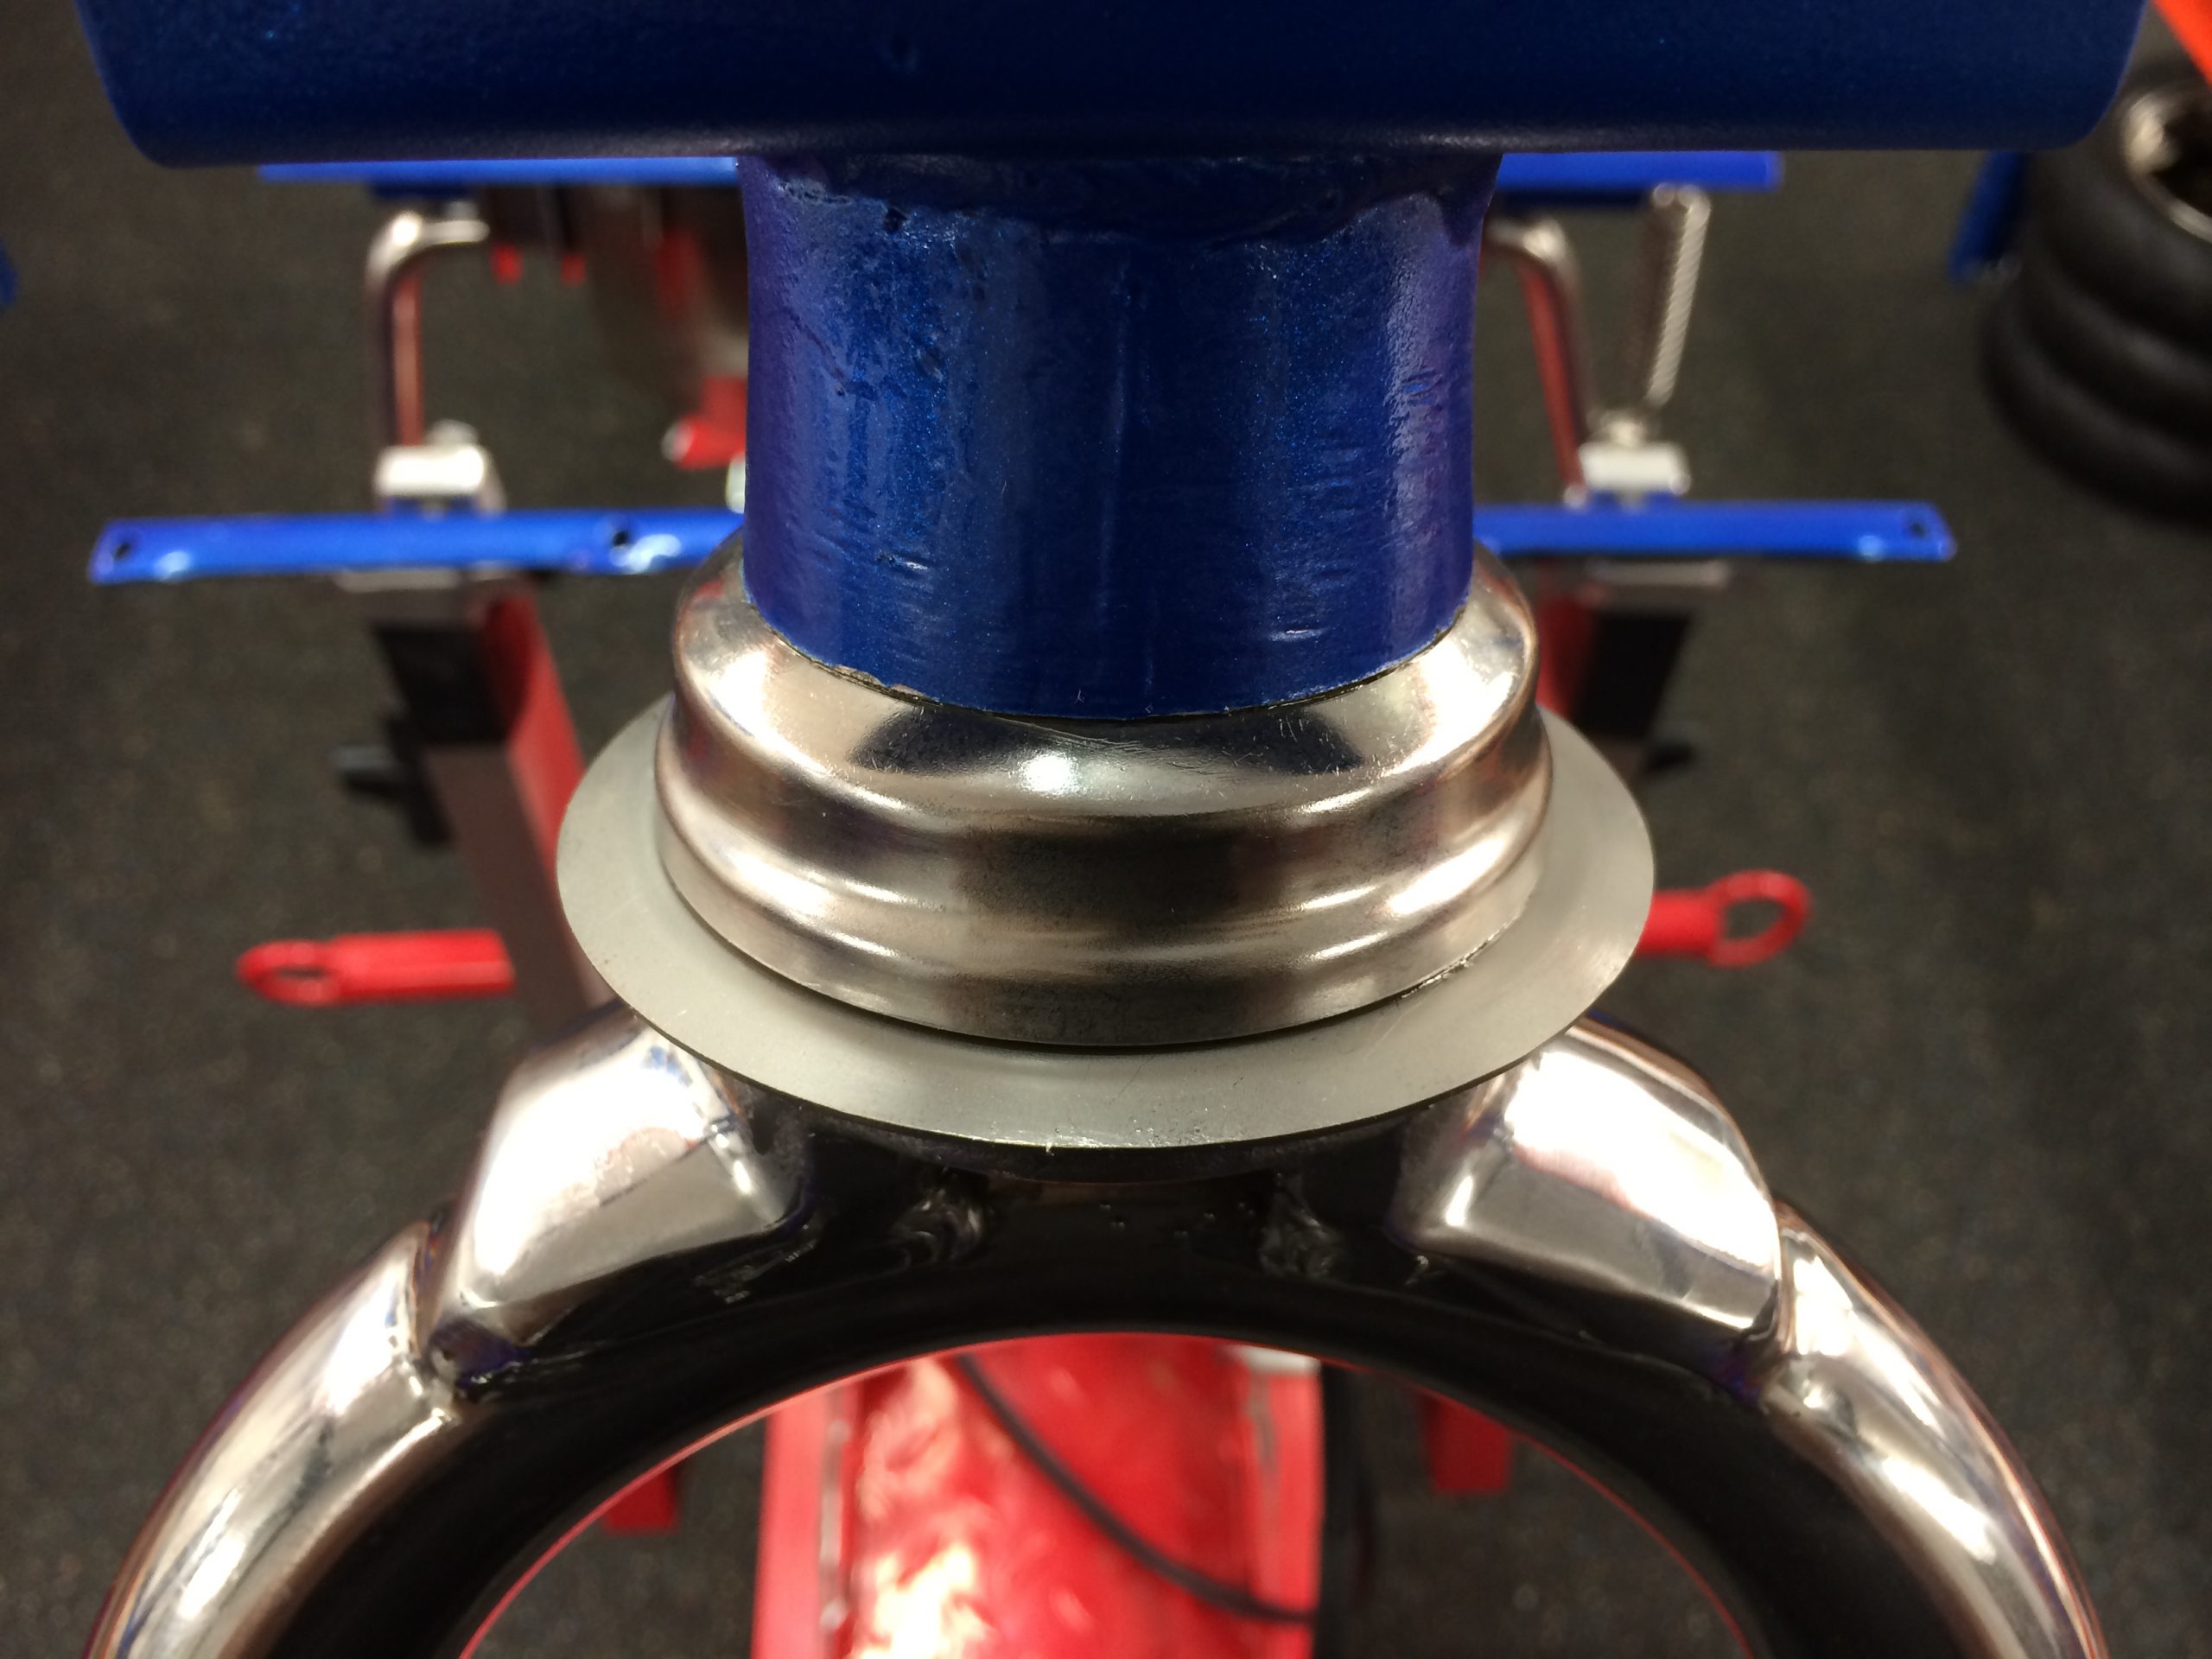
Parts that were a pain! – The forks, they didn’t fit the headset bolt, the slot had to be re-slotted, the Bgm dampers didn’t fit the damper brackets, so the brackets had to be cut off and Bgm bolt on dampers fitted and the forks needed re polishing after grinding in position using tuning tools! The exhaust didn’t fit as the flange was welded all to cock, not a problem any way I had to cut it and weld on a 4 stud MB RT flange to suit the cylinder. The custom supplied seat didn’t fit and required slotting. The supplied painted frame was bent and had to be re lined up and then repainted. The headset top didn’t fit the headset bottom and had to be ground with tuning tools to make it fit and then needed modifying for the rim. The stainless cowlings that we had to buy in didn’t fit at all. And then there’s the little things like grinding and polishing and fettling to fit the best you can.
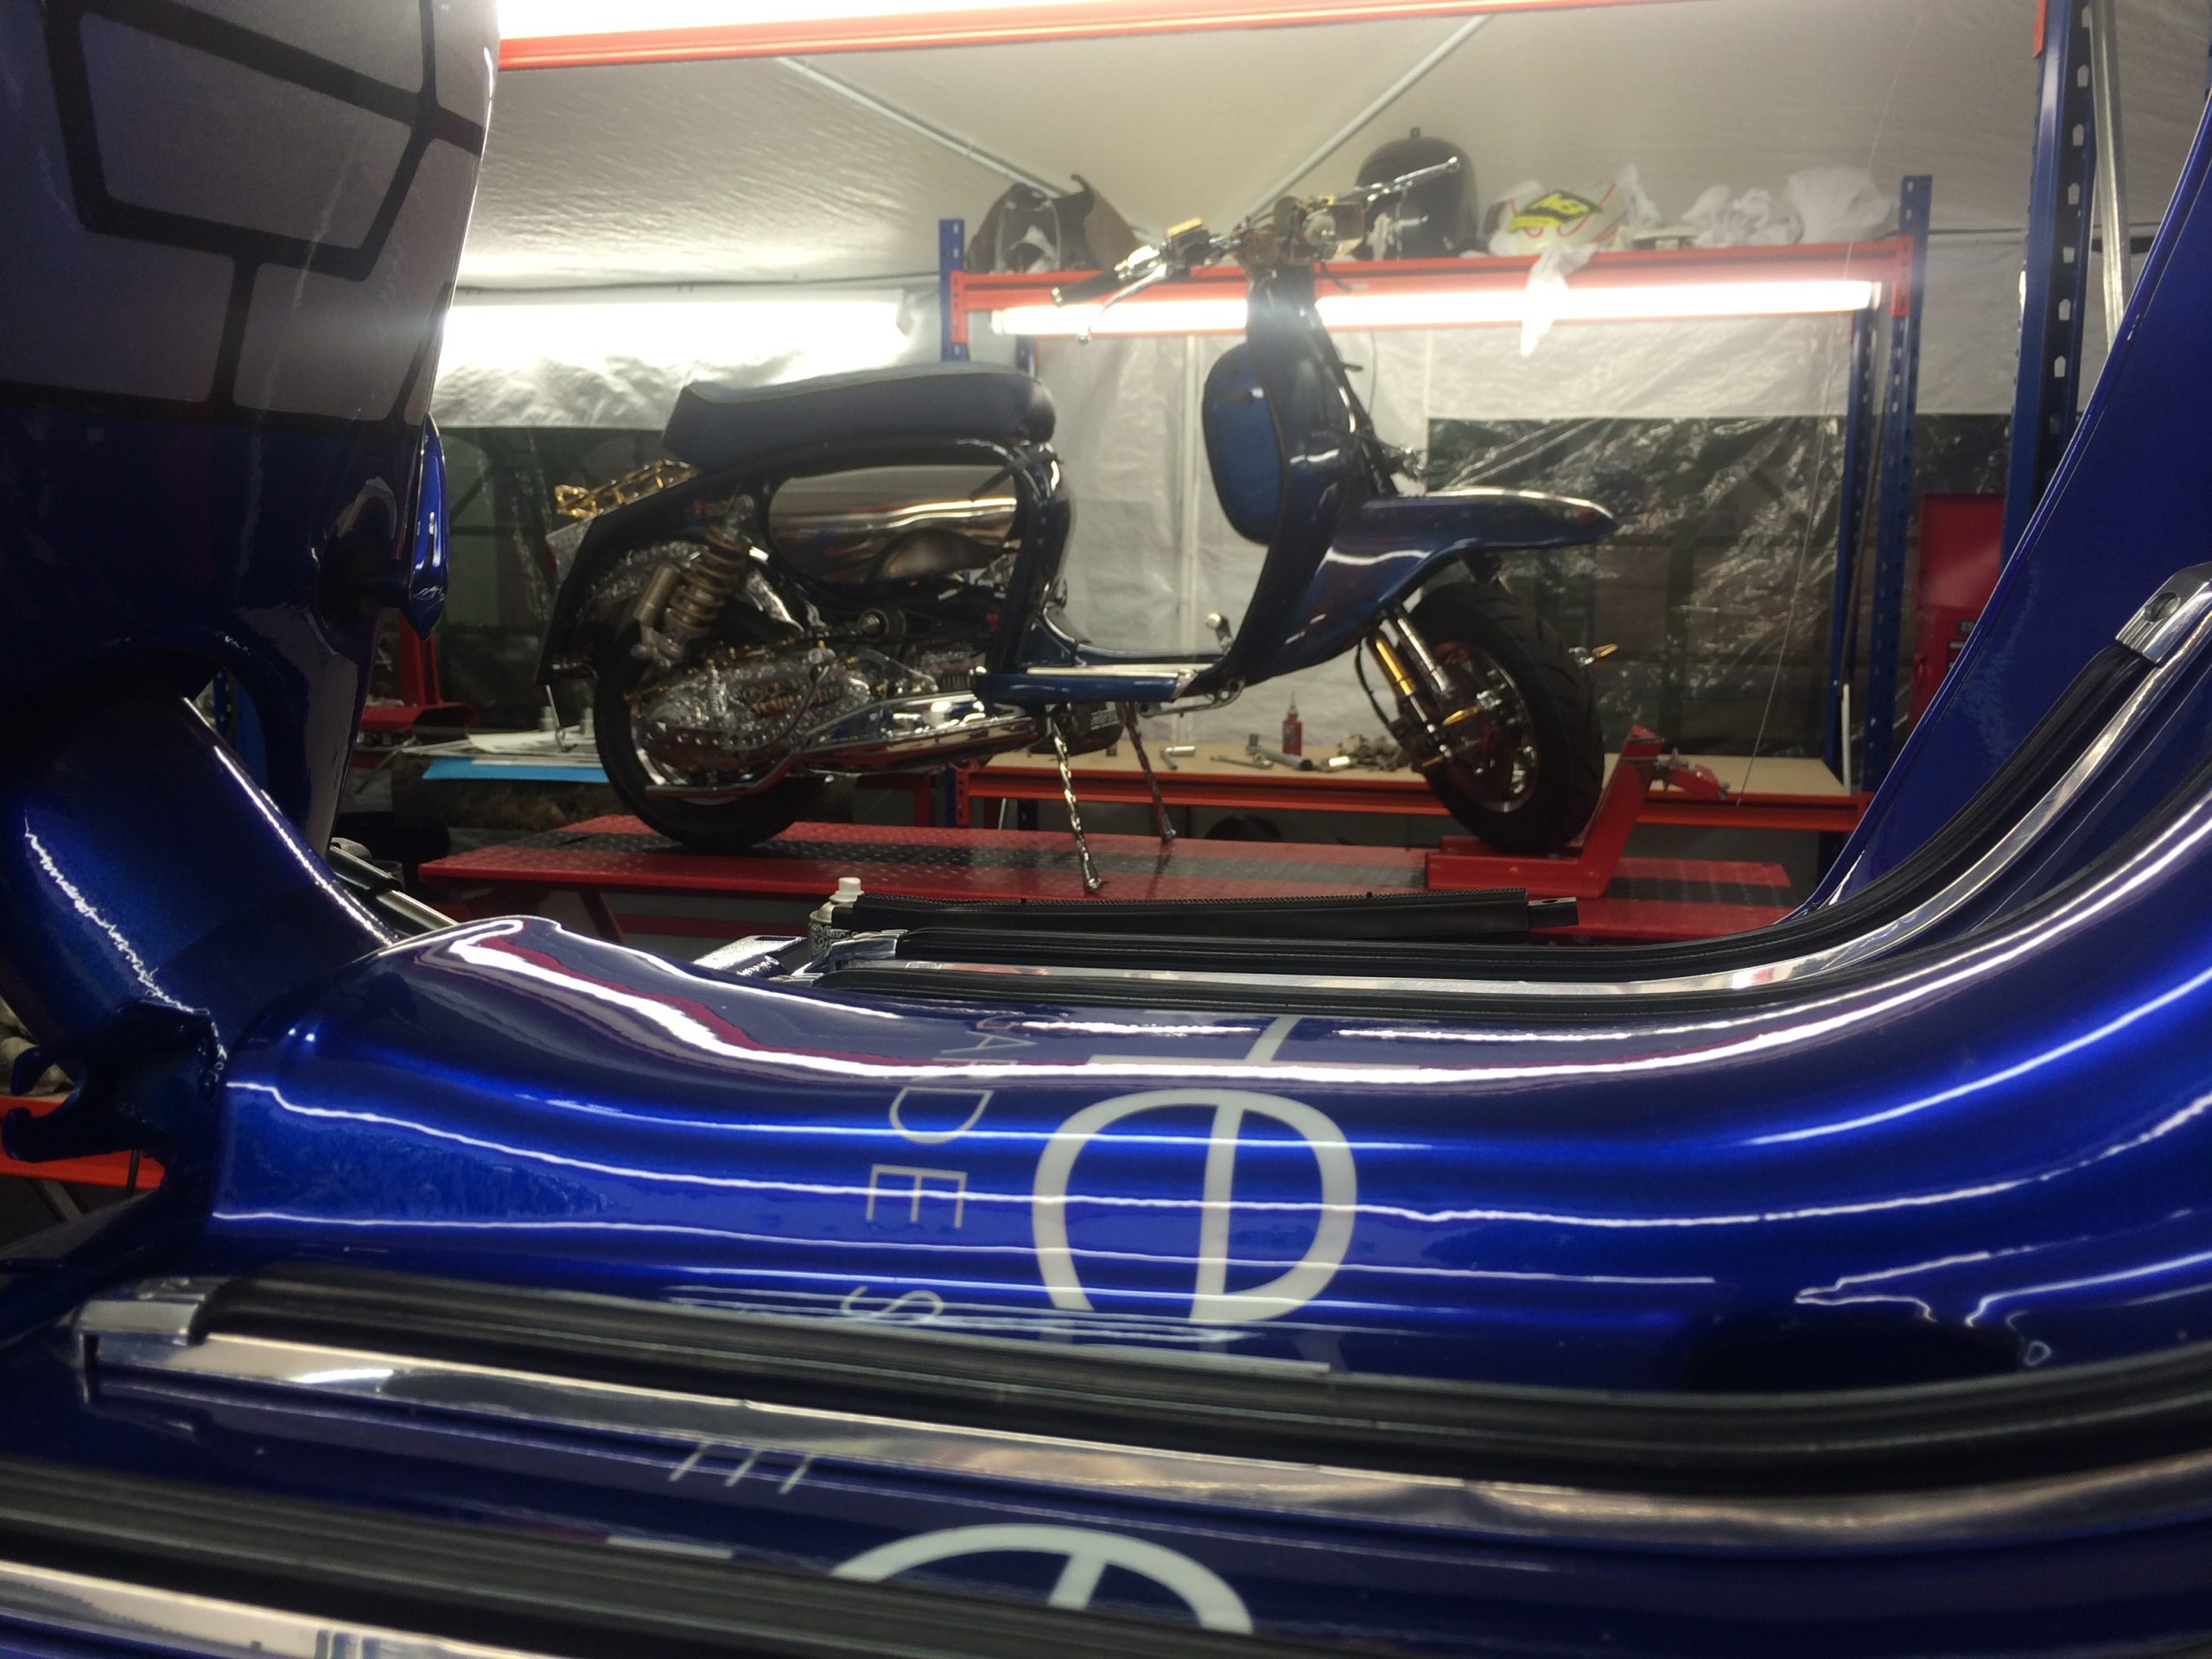
Apart from that in the early stages I was saying it’s going together perfect, I really should keep my mouth shut! The engine went together as they should. All engines are a pain in the arse, you just have to go through all the procedures from start to finish. The engine dynoed perfect and was a joy to work on unlike some with dodgy ignitions that we see all the time! And the new MB 5 speed gearbox didn’t jump once and for those who see me in my dyno room will know I thrash my motors to an inch of their lives!
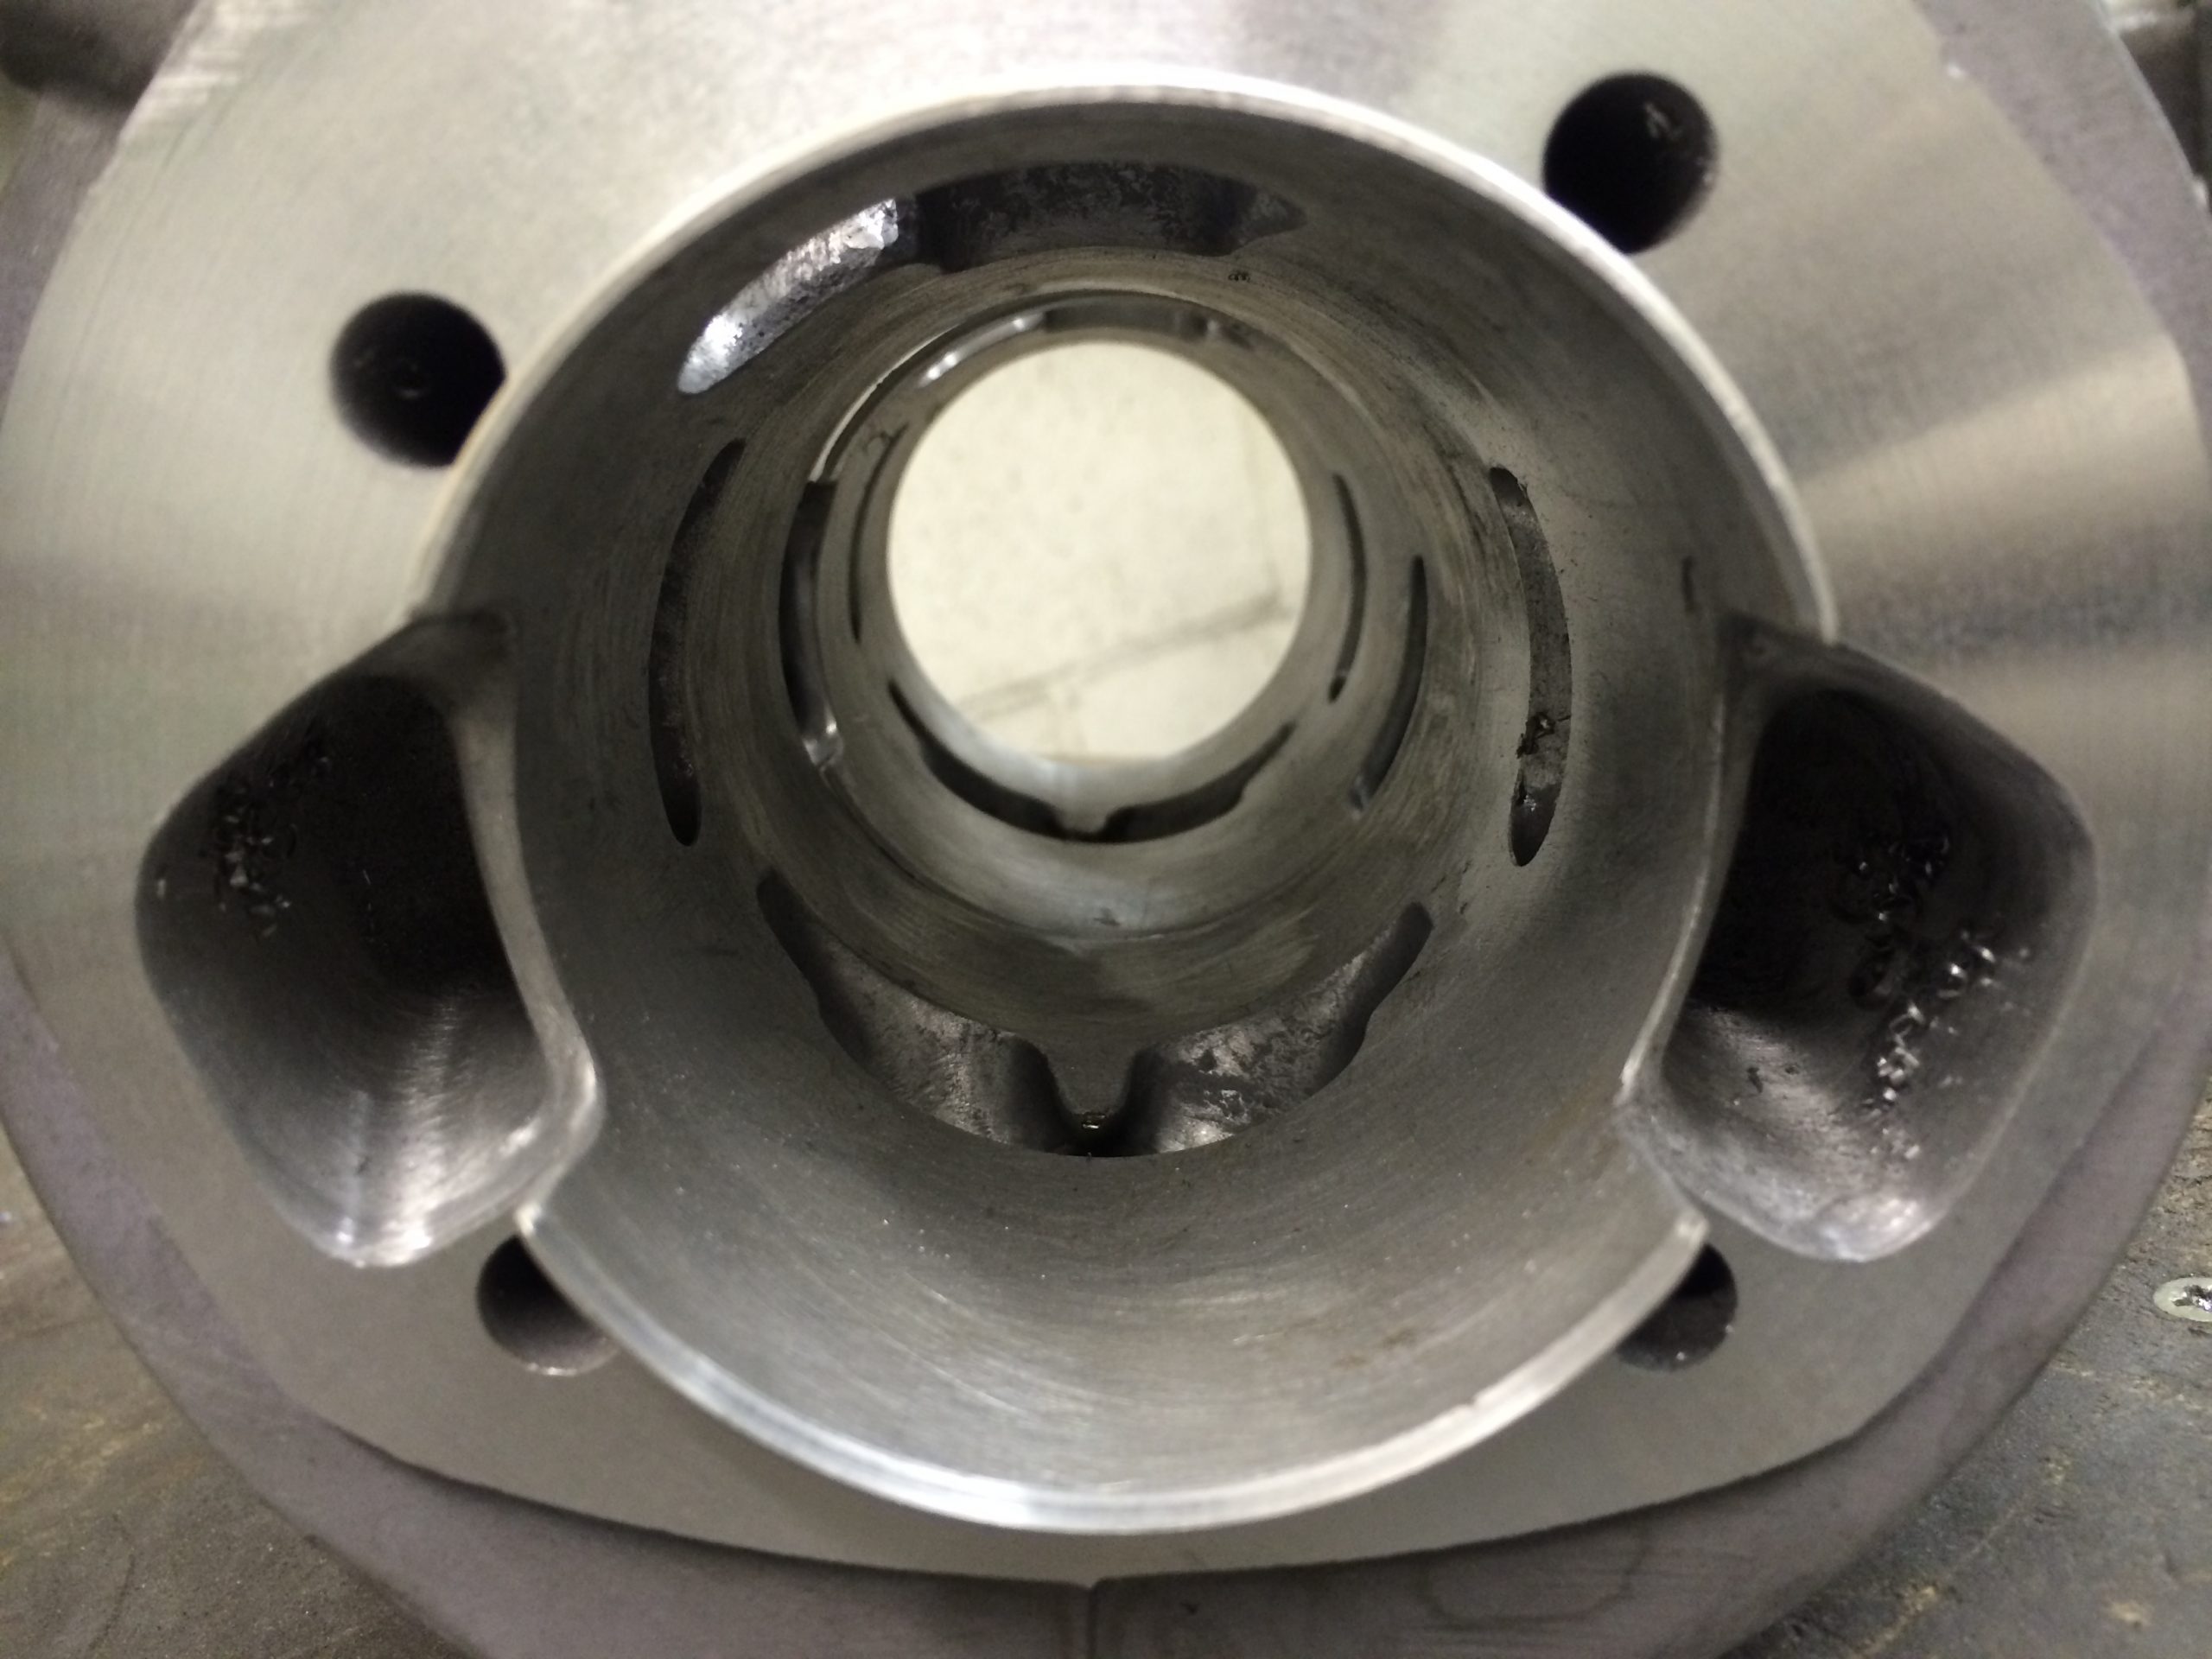
As for the rest of it, I guess you need to see it. There’s hours and hours of work you don’t see. The miles I’ve walked from my restoration area back into the engineering workshop is unreal, it’s a 200 meter round trip which keeps me fit. I forget about the details but here we go……
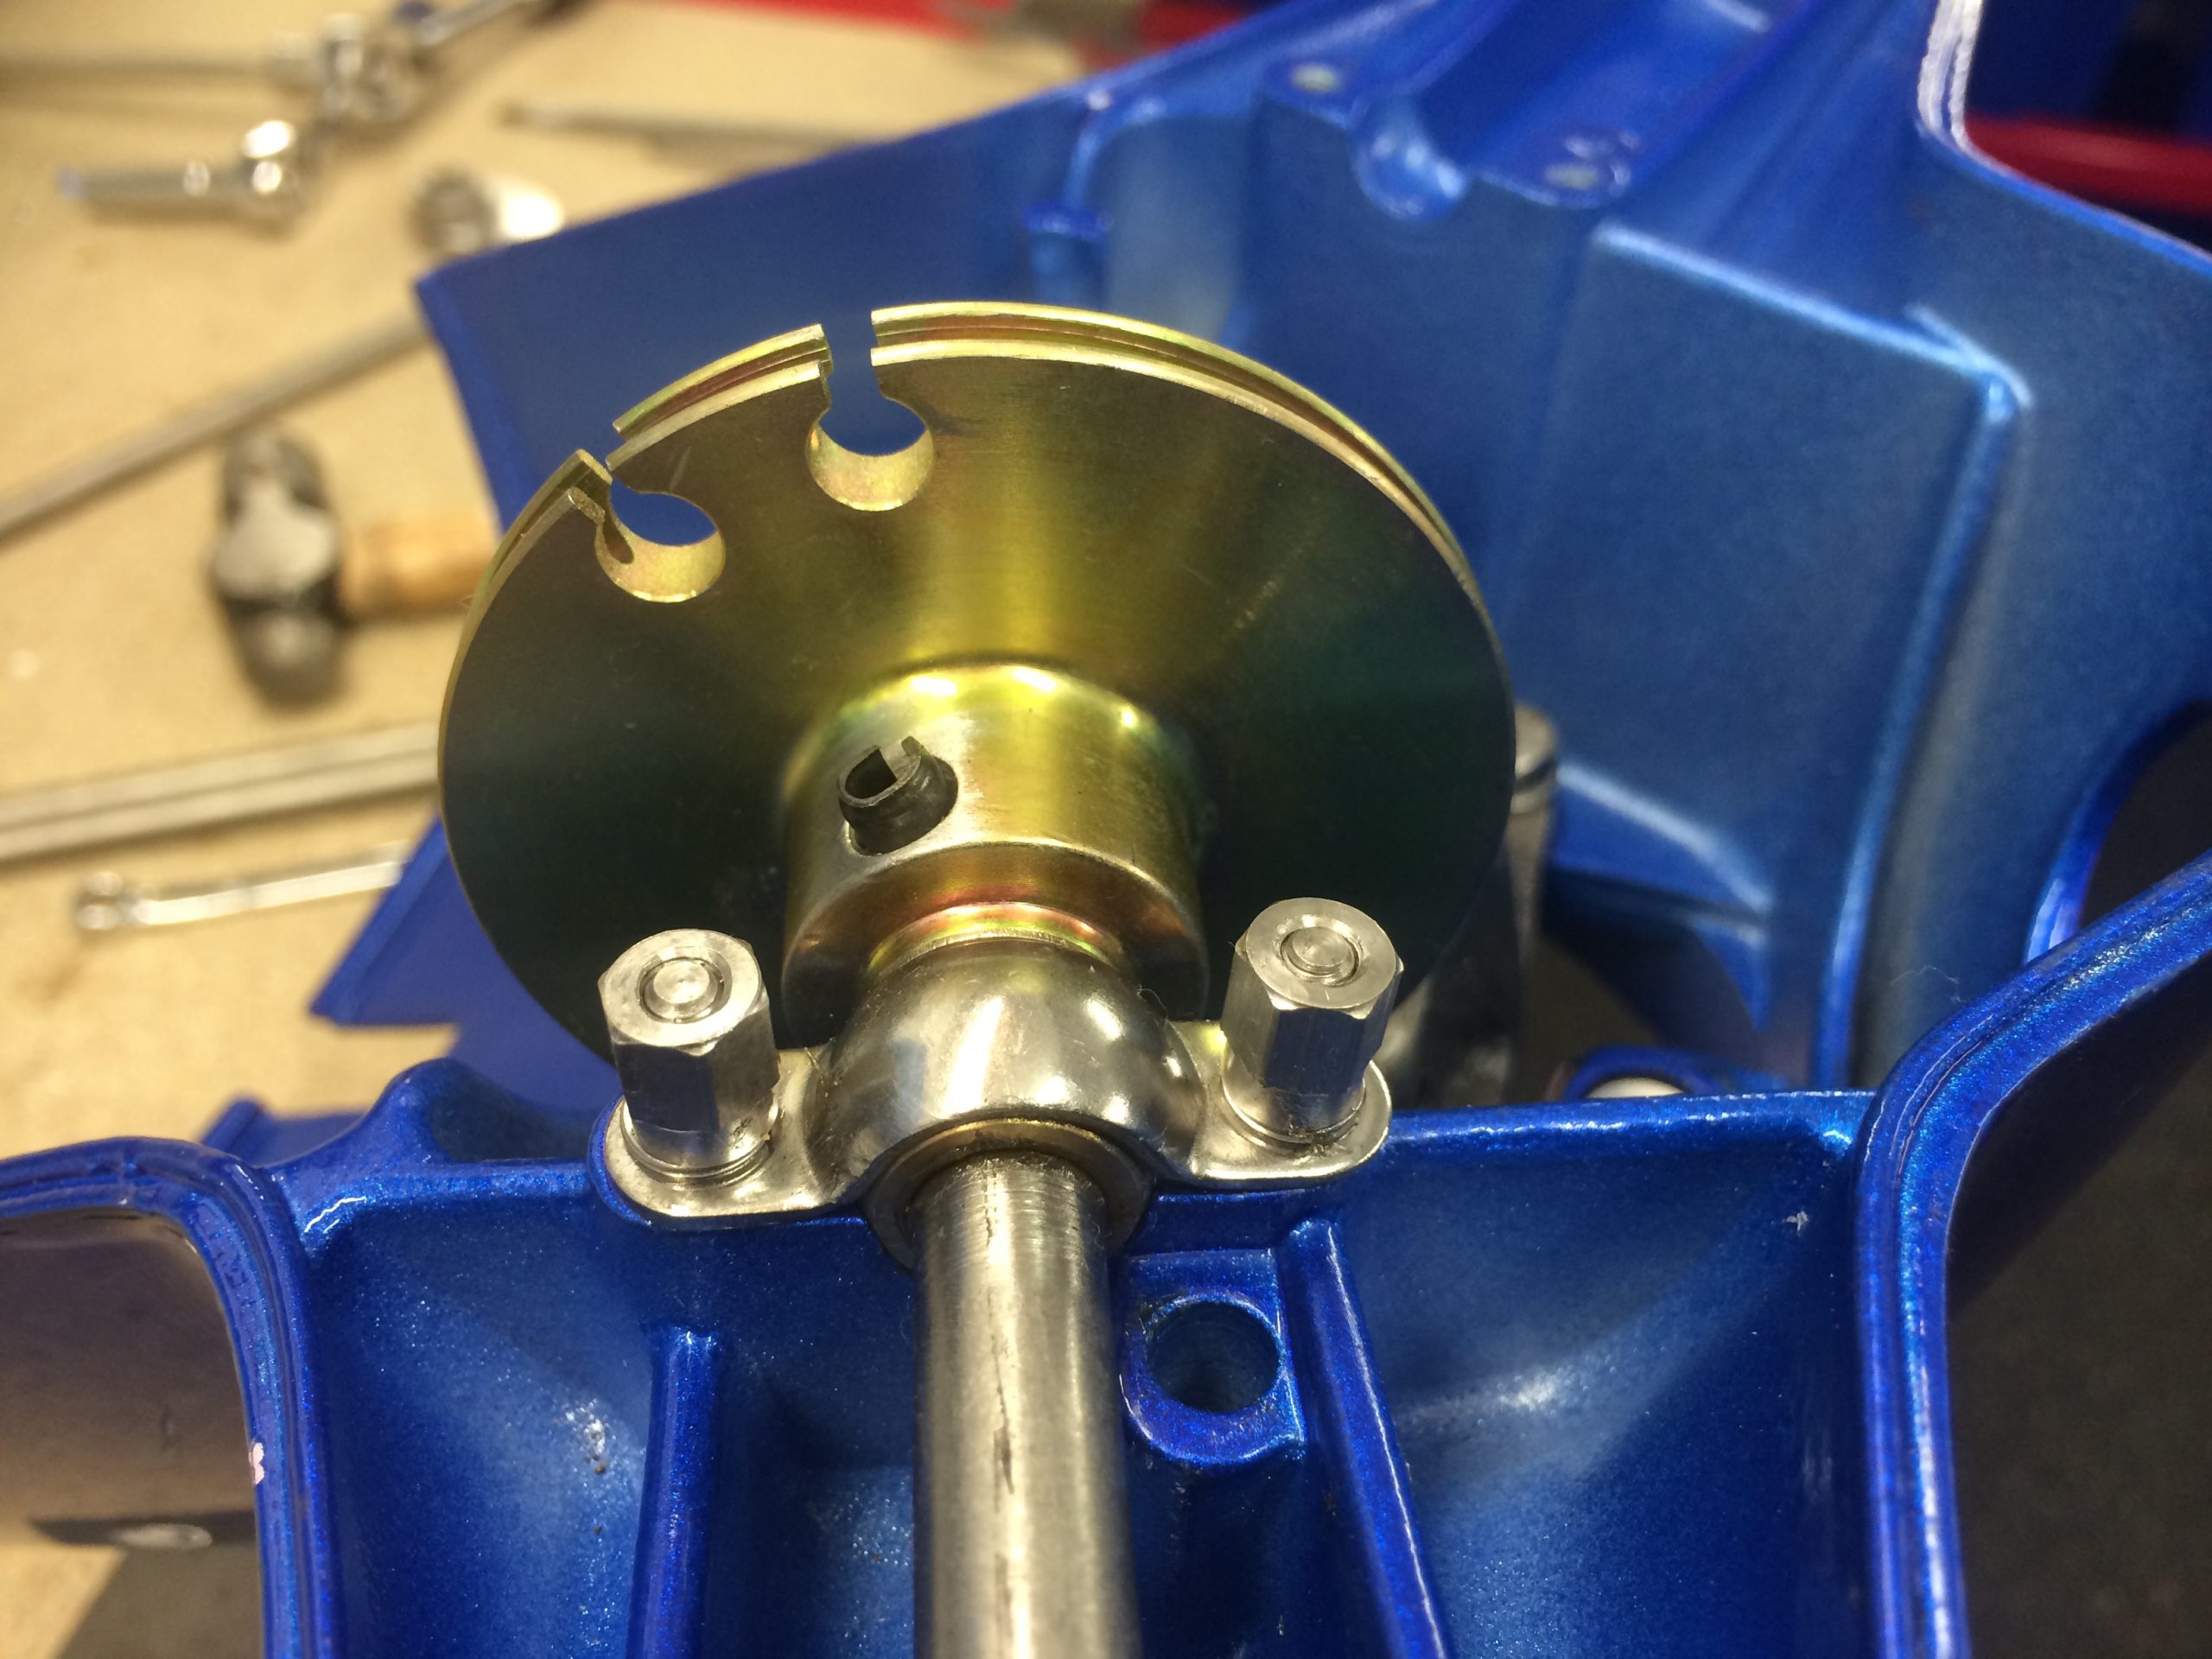
I rebuild/restored/remade the full Scooter. There’s so many MB parts I can’t list them all but here’s some – MB twin petrol tank conversion exactly the same conversion as I’ve been doing now for 30 years, you have to look as you don’t see the conversion. The Master cylinder was cut, ground and polished by hand, the lever was welded and shaped and even made a Lambretta pivot pin fit to match the clutch side. This is bolted to one of our original MB master cylinder housings which was ground to shape to fit perfect and polished. The Clutch lever is a MB short dog leg which matches the brake lever, this fits in the supplied 5 speed clutch housing which didn’t fit and had to be modified as the cable fowled the casting. The headset is finished off with MB TZR grips and matching Blue bar ends. The forks were rebuilt with all MB internals including our 3 stage springs and MB Disc fork links and the hub was a new one off MB outboard disc that we have been making for 25 years, still the original and the best. Lots of small parts were shaped and polished in house. Even all the stainless MB parts were polished to suit. The MB choke assembly and petrol tap rod match along with the MB levers on the engine casing and rear brake pedal. I even had that OCD moment whether to use Blue or White nylons to match the paint or chrome and polish, luckily I only had Blue grease so had no dilemma there.
The tyres are Conti Race fitted to polished stainless Bgm rims. Front and rear shockers are Bgm. The ignition is Bgm AC using our MB full Ac-Dc super loom which gave me choices as we were fitting the Gamma Tech speedo. To stabilise the horn and and Gamma Tech I had to make a one off battery box hidden inside the spare wheel carrier, where the one off Gamma bracket hides all the extra wires including the on/off switch which allows power to the Gamma so you can program it without the engine running. The rear light was a Bgm LED making the rest of the lights really bright. And theres so much more I can not remember.
Other people did work I’m not capable of – like the paint, it really is a work of art, they say they are not stickers but you can not tell it is painted! The engraving on the hubs was done by Jason Lock and again it looks computer done, its amazing! The one off seat base was from Gary Simpson and recovered by Saddlecraft and finally the chrome plating on the hubs was done by our own chrome platers Quality Chrome, again just perfection. And then there’s the speedo face, check that out! It didn’t fit and took some fettling but was worth it.
As for price I could have a good guess, but to be honest I don’t know that’s Stefs secret, but it’s the most expensive one I’ve ever built.
Stephan has used one of our MB Race-Tour engine packages before in his Sx200. Having used this engine for 5 years he knew exactly that he wanted it again. But this time he asked for ‘that bit more’ without over doing it and said ‘it should be a GTS beater’.
A customer once came to see me and said youre Lambretta isn’t as fast as my GTS. Well it just happened we were going on a ride out that weekend and we actually bumped into each other a few miles away and set off together. At that I preceded to slow down and mess about with him and let him think he had a fast Vespa. Just long enough to think he had a fast bike, then I let loose and thrashed him to death on acceleration, around corners and on the straight and just laughed at him. A few days later he came to see me and said ‘I knew on the first corner I wasn’t going to keep up with you, that is one fast Lambretta………. That’s how to do it………… the road is my race track!
In reality a 300cc auto water cooled GTS is a good motor and in the right hands not many Lambrettas could keep up…….. oh wait here we go, just wait for it.
Having known Steph and how he rides and at what speeds, I’ve designed and built this engine to do what he wants. At the end of the day it is a custom rally bike for riding, it’s not a low mileage race bike, it’s got to perform. The reality is a road bike needs to work, it needs to be drive-able, ride-able and reliable. Steph drives with friends who don’t always give it some and your only as fast as the slowest man. He enjoys riding with others but going home he prefers his own company and uses the throttle mostly flat out.
This engine is the best of all worlds with a modern one off MB built engine package. This was based around a NOS 200 motor, there’s no welding at all. The crank was a special full circle 62mm with Yamaha 115mm con rod that I had saved for that special person. To mate with the crank a MB RT forged 71mm short crown height piston was used. The cylinder was de-stripped of it’s plating and bored the extra 1mm giving 245cc. The RT cylinder is not aimed at racing, of course you can over tune them to race but this is for road rally touring, so was tuned to my normal TTT spec ‘touring-torquey-tune’. The porting spec is very similar to what I do on anyone’s RT cylinder when I convert it to Reed.
Steph has already seen his RT Reed motor doing incredible miles per gallon even cruising at 80mph! For me miles per gallon is as important as miles per hour. The difference with this cylinder is – I welded the exhaust port and retuned it to have what I call a half bridge port. Power comes from wide exhaust ports, this can be done in a number of ways. Go wide on the standard port, you need to be careful – too far and modern rings chip away at the plating and piston. You can do a full bridge, something I have been doing since 1983, but I’ve always found this to give problems with expansion and bridges can break. With the half bridge the cylinder can expand without the bridge cracking. But you have to do this correctly or things will go wrong. It’s a lot of work – is it worth it?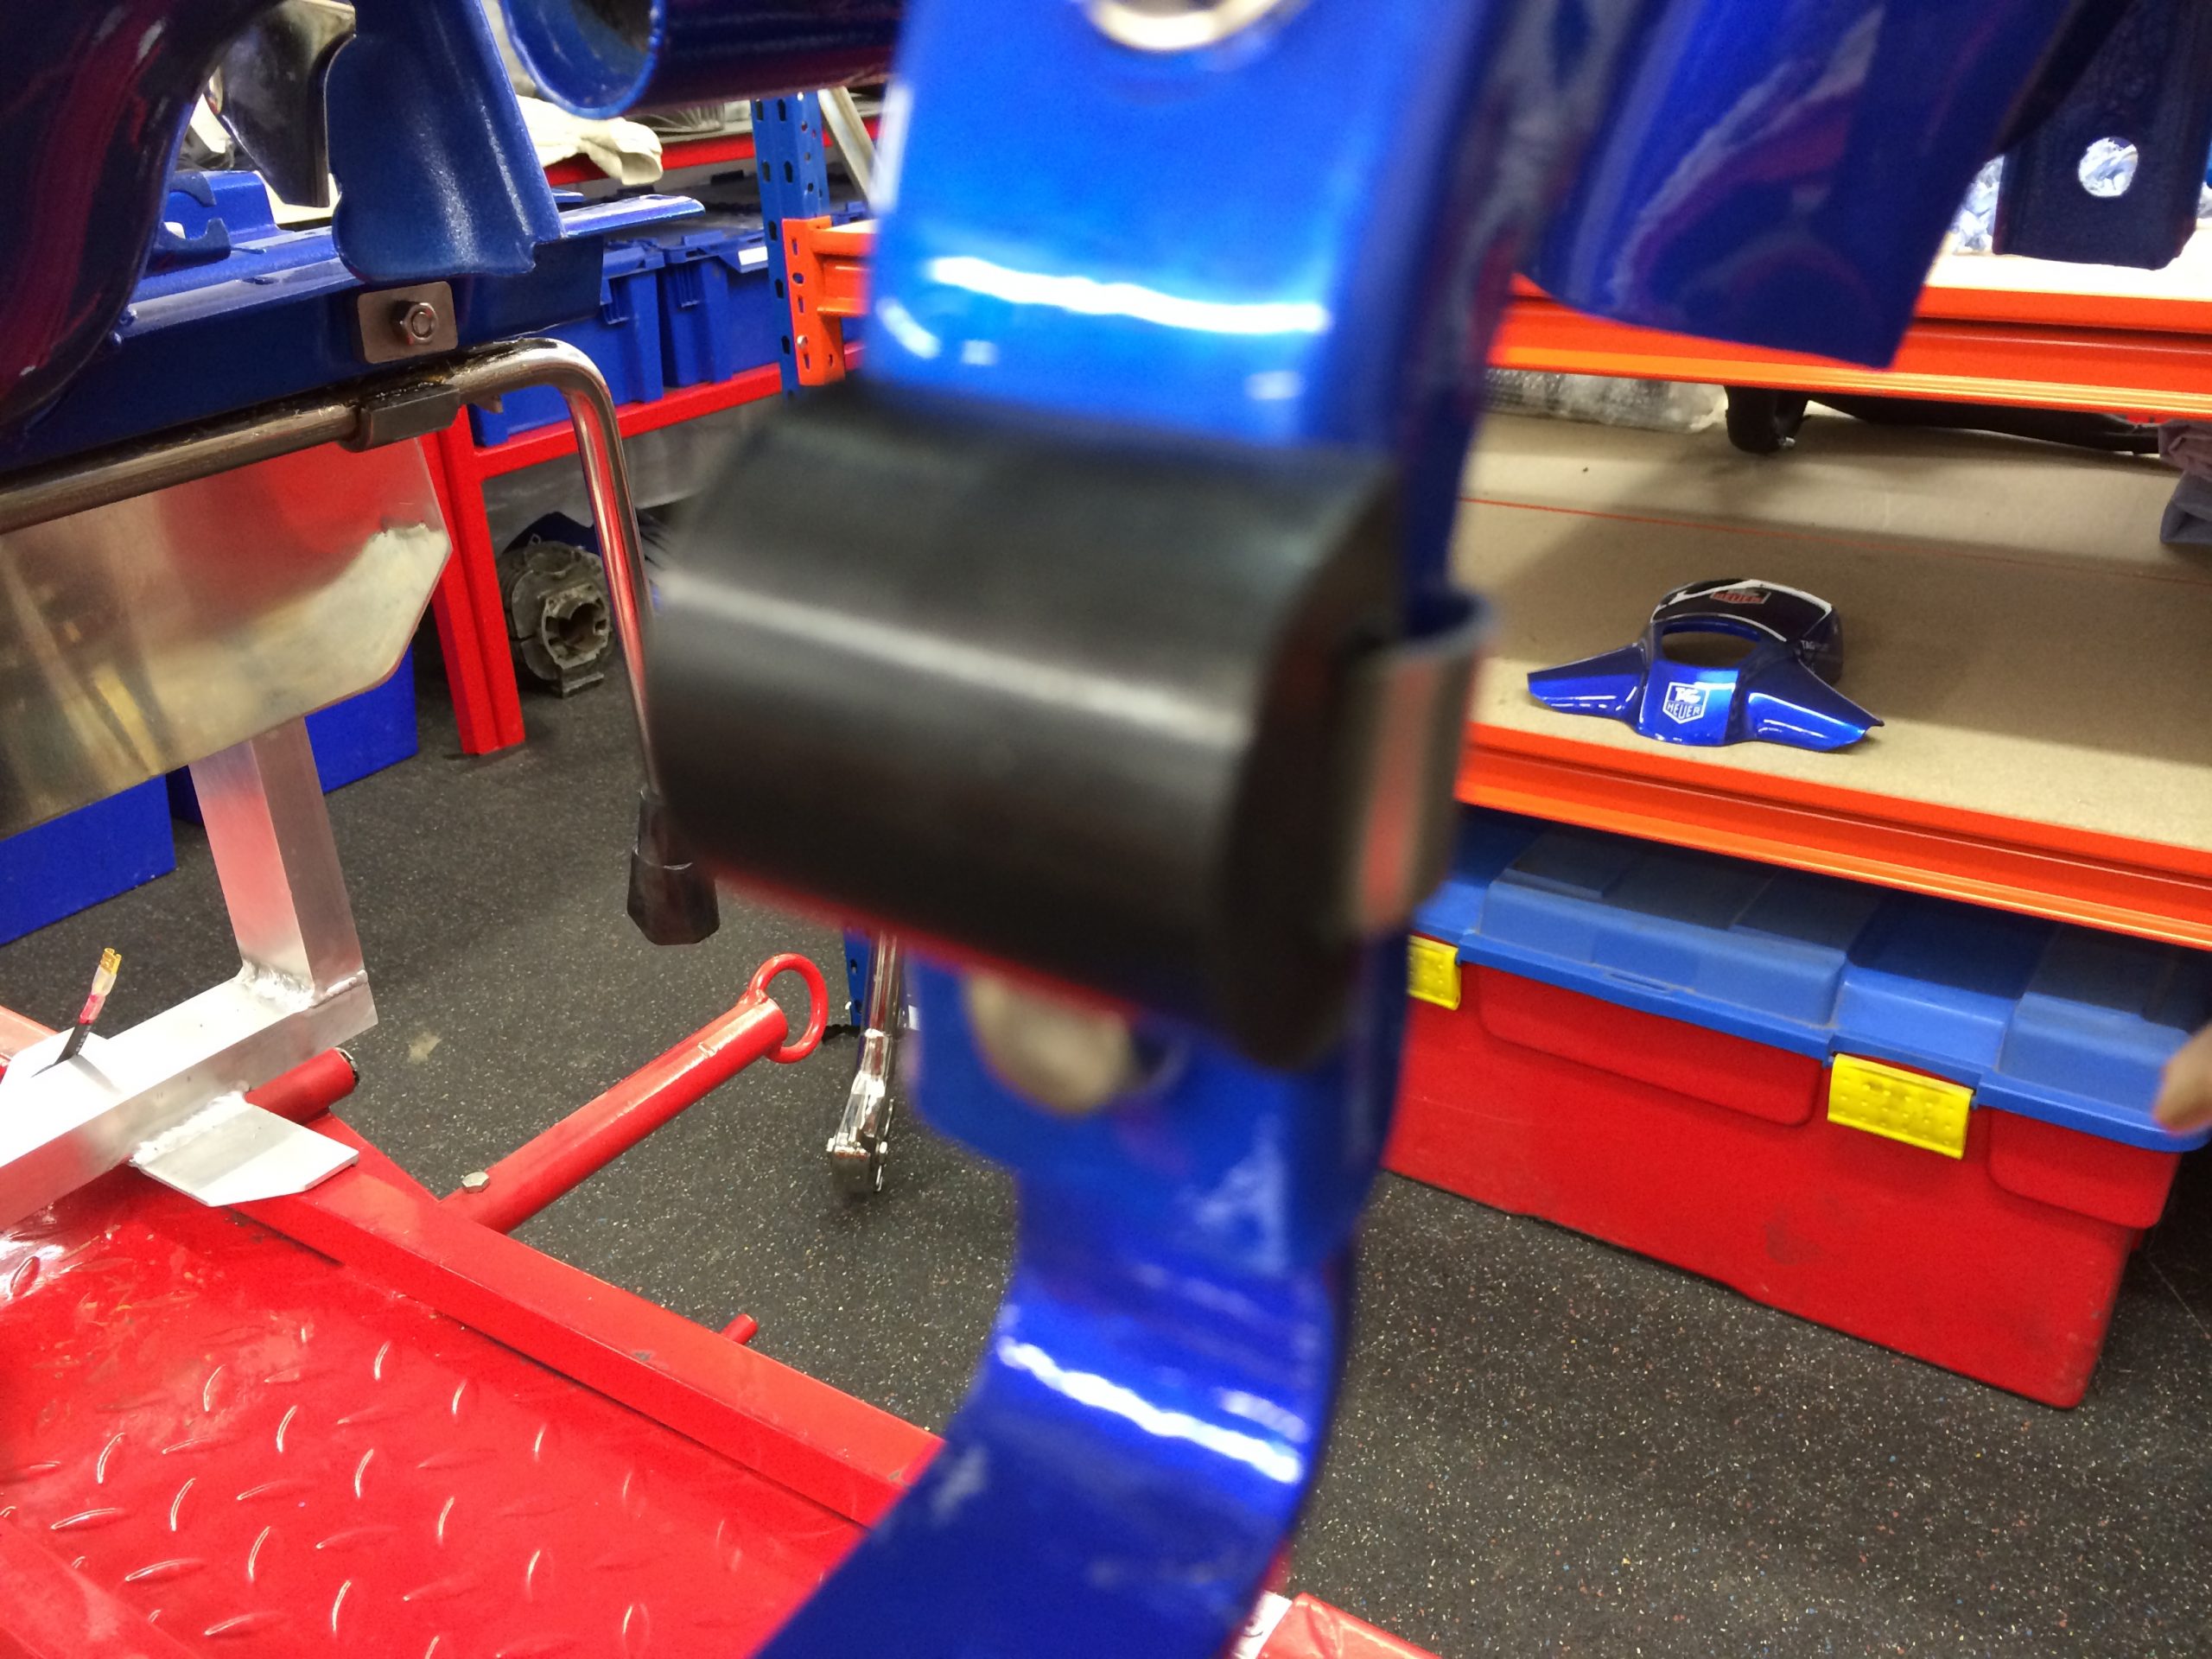
This is the only bike I’ve done a roll on in 5th gear from 2000rpm to over 8500rpm. Basically this engine on the dyno shows it’s like an automatic engine – back to that – ‘I want it to beat a GTS’!
With the road gearing I’ve used, this bike should drive down to 20-30mph in 5th to over 80mph. But the gearing can be altered and add another 10-15mph on the engines top speed if need be.
But bare in mind, this is near standard port timings that we used on a standard kit. If I wanted that 30+bhp I would have raised the exhaust port 10-20 degrees, but then you loose all that rideability this engine has.
The engine spec is as follows……
62mm full circle crank with Yamaha 115mm con rod.
71mm MB RT forged short crown height piston converted to reed.
RT 225 cylinder bored to suit the piston, exhaust port welded with semi bridge and ceramic plated.
Steph convinced himself he needed the very first MB production UK made 5 speed gearbox, using standard 18 x 47 sprockets and 82 link chain and MB top slipper.
Clutch is our own CNC UK made 6 plate kit.
Ignition is an AC BGM stator and flywheel with Kytronik set at number 2, 24-16 degrees.
Of course all the seals, bearings and gaskets are MB made versions, MB Layshaft.
Linkages all MB, as is the rest of the engine all MB.
Carb we used, a bullet proof Dellorto PHBH 30mm.
Exhaust – stainless Franspeed Super tourer.
I’m as anal at rebuilding engines as I am the bike…………. There’s probably 30 odd hours in building this one off engine.
I’ve known Stephan Hall for a long time now. He’s a long standing customer who came to us to have his restored Sx200 converted to one of the 1st UK made Race-Tour 230 Reed valve engines and the package that comes with it. And he came back for upgrades to suit, including a MB hydraulic disc conversion.
Every year he has run that bike and done loads of rallies on it. Over that time, I’ve got to know Stephan well and have become a friend as well as a customer. He doesn’t shout, he listens and doesn’t argue, he knows I say it like it is and I give him what he wants not what he thinks he wants. But I also listen and he gives me feedback on how his engine works.
The result was a really strong reliable motor, giving really good speeds and high fuel economy to suit his rather large 6ft frame.
When he approached me to build him another new bike and told me his dreams, I was like ‘no – not another’ do something a bit different. But he was adamant, it was his dream as a youngster and the bike was to be painted like he wanted. And so be it, it was his bike and not mine. The joke was – he would ask ‘can I have the logos to use’ and I would say ‘which ones I’m working on more’.
This went on for nearly a year! As I kept designing new logos!
No restoration is easy – oh how I wish we could all take parts off the shelf, all in the correct colours and they fit! The last standard restoration I did was well over 25 years ago, they bore me stupid, the thought of doing those on a regular basis would have done my head in. The last one I did Nigel Cox of Weston Scooter Spares was so impressed he bought it and sold it straight away to Japan, a nice little pat on my back even all those years ago.
Most don’t know me as a restorer, but every now and then, if I’m interested I’ll do a Scooter, but they are never standard!
The time to do these non standard one off bikes has become a shock to us all. I’ve timed every aspect of this bike. The problems you come across is unreal and without a workshop that we have, it would be near impossible to do – well done right!
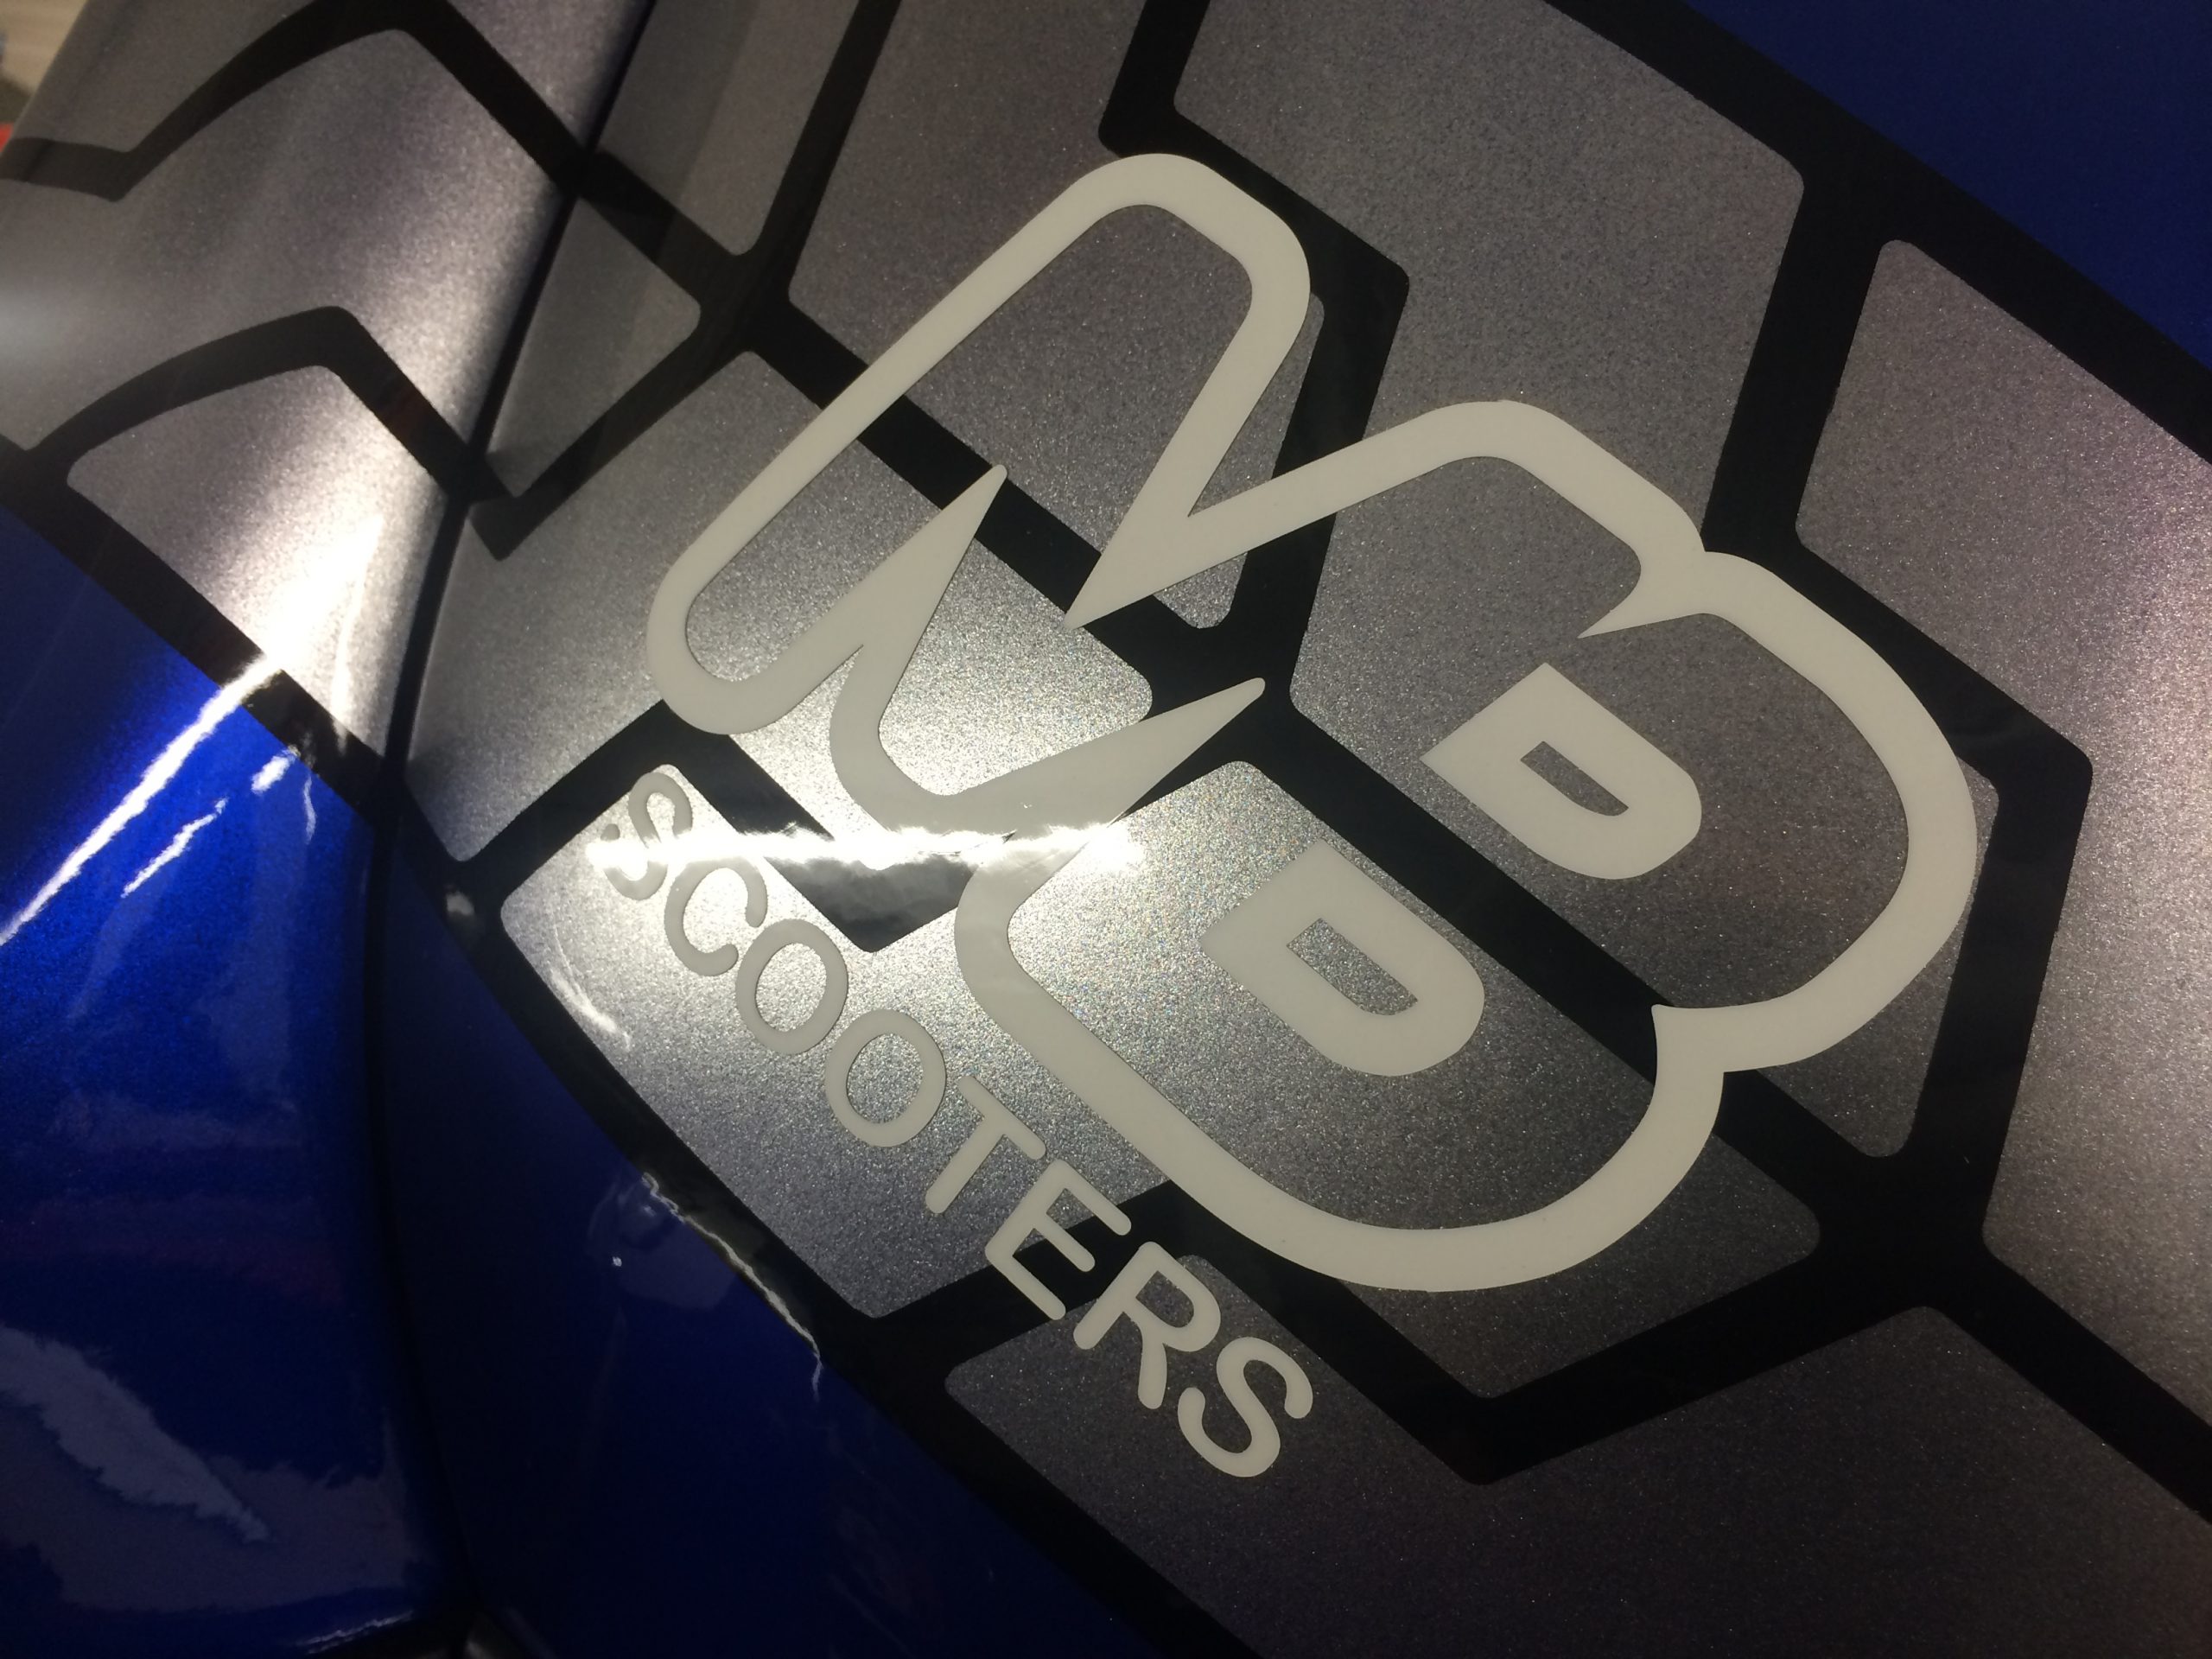
Steph stuck to his guns, he got his spray job, he supplied the bike and I did the rest, well apart from some polishing, engraving and some chrome plating.
The sprayer as usual took longer than was quoted – two and half years later it was done. Steph wanted it for a custom show, he missed not one but two shows over the years. Of course I’m not the quickest worker I have so much everyday engineering it’s hard to drop every thing and do nothing for weeks on end, restoring and making up a one off custom bike. There’s bills to pay and hundreds of customers wanting me.
When the odd painted parts kept turning up there was never enough to blitz it and get on with it when I had time. I would have a couple of parts then others missing to carry on. And this is how top class bikes are put together – in a frustrating way.
When the frame finally turned up after lots of other parts, I fitted it to my bike stand, as I looked – the front of the frame was bend so far out it was unreal – near 50mm! Steph came to check it out and wow! ‘how the hell can another dealer supply a full GP in pieces with a frame so badly bent! That was just the start of it. The frame had to be straightened and repainted, the start of more delays!
The bike was supposed to have been dry built by the dealer – yeah right! For instance the headset top took two hours to make fit! The supplied seat took two hours to fit! The exhaust had to be cut and modified! The head and flywheel cowls bought in, took another two hours! And this list just goes on and on. Basically nearly everything bought in and supplied by others took hours and hours to make good! It’s been the same for all the bikes I’ve built over the last 20 years. But of course all MB supplied parts fitted perfect as expected or near as dam it. But I’m so anal, my OCD is killing me, I would fit a part, look and think it’s not as neat as I would like and would do it again and again. I even went home, thought about some aspects and went back in the next day to do it again.
I wouldn’t go and say it was a full custom bike! Just because it has a nicely themed Road Race paint scheme does it make it a custom bike? This bike hasn’t particularly got all the must have new parts, the frame and body is standard, with no cuts or welding! But there are so many one off parts fitted and made and modified that you wont see them unless you look and you’ve got to know what to look for!
Even if I really had OCD there’s some aspects youve just got to say – ‘enough is enough, do you have to polish every little screw’? You could say ‘yes’ but at the same time your thinking, how much is this going to cost the customer, some things you have to let go – through practicality!
It’s taken 186 hours to build the Scooter! That doesn’t include the time to do the engine which I normally time at 8 hours, but the engine is a one off – so would expect 30 hours in that and then there’s the painting and postage and running around to get everything together. This bike could easily have taken between all the people working on it up to 300 hours! Unreal and it’s all got to be paid for somehow, we can not do all this for free! In that time I could have supplied say 75 cylinder kits that cost between £300 – £1200, you can see why I don’t go out on my way to take on lots of restorations/custom/race bikes!
But now it’s done, it’s all come together, it’s spotless, the detail in every aspect – not just what I’ve done but others as well. Its unreal and I for one, as well as Steph think it’s come out great.


